Import WooCommerce Customers with WPSyncSheets For WooCommerce plugin
If users want to update customers details, assign customers roles, and manage records in bulk then they have to Import Customers as it saves time, reduces the minor errors and avoids repetition within WooCommerce.
How to Import Customers?
Step 1
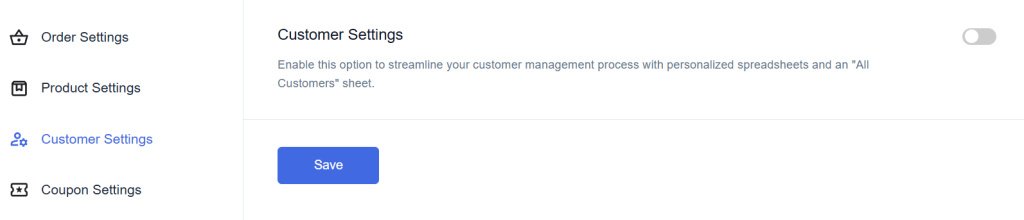
Navigate to WPSyncSheets > For WooCommerce > Customer Settings and enable the option for Customer Settings.
Step 2
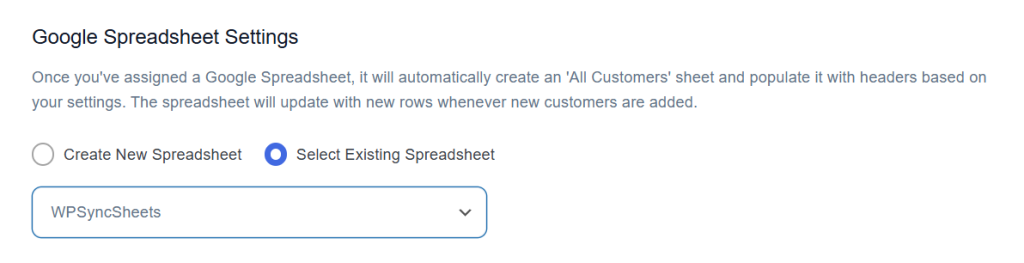
Click “Create New Spreadsheet” and give a name of your spreadsheet or “Select Existing Spreadsheet”
Step 3
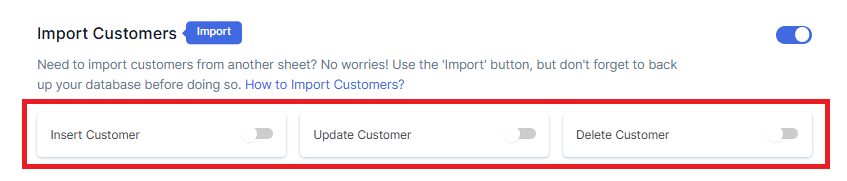
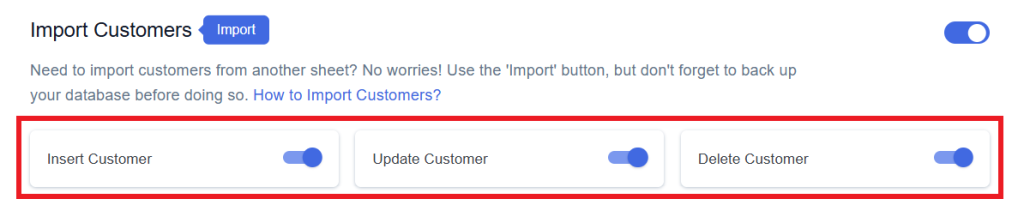
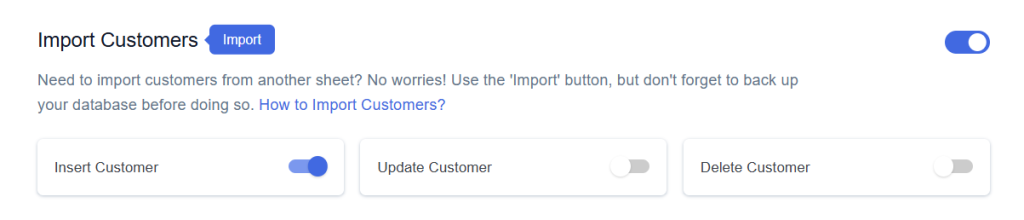
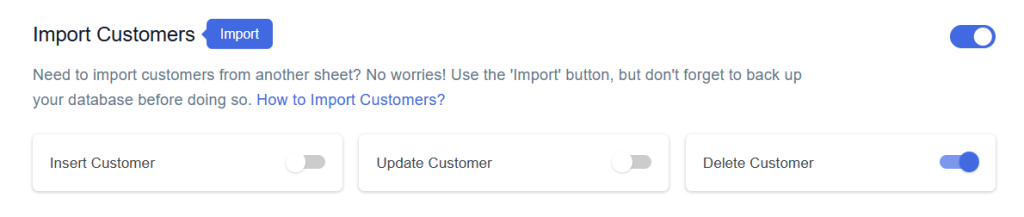
Find and enable the Import Customers option and after enabling the import customers you will see three options.
Step 4
Enable/Disable the options insert/update/delete as per your requirement and Save Settings.
Step 5
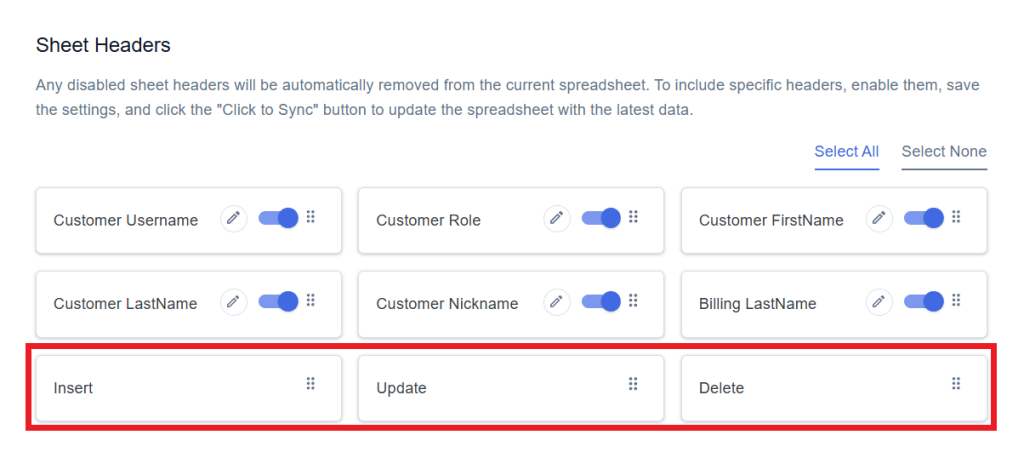
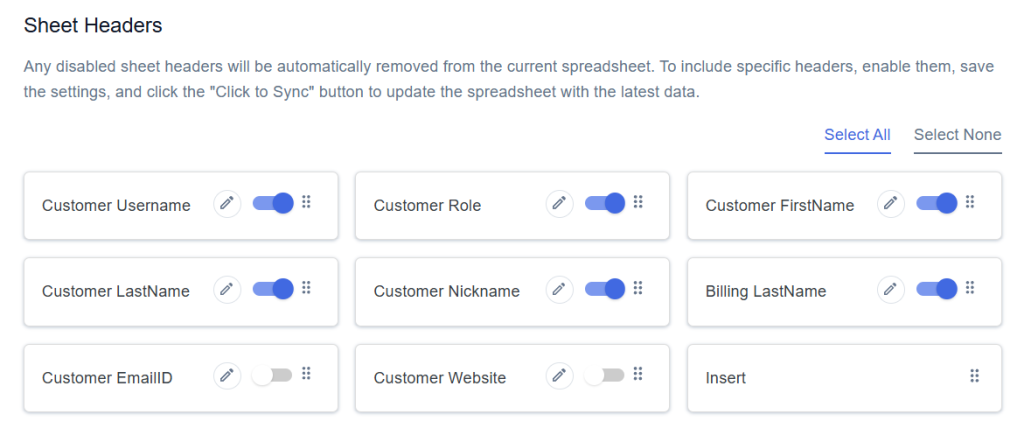
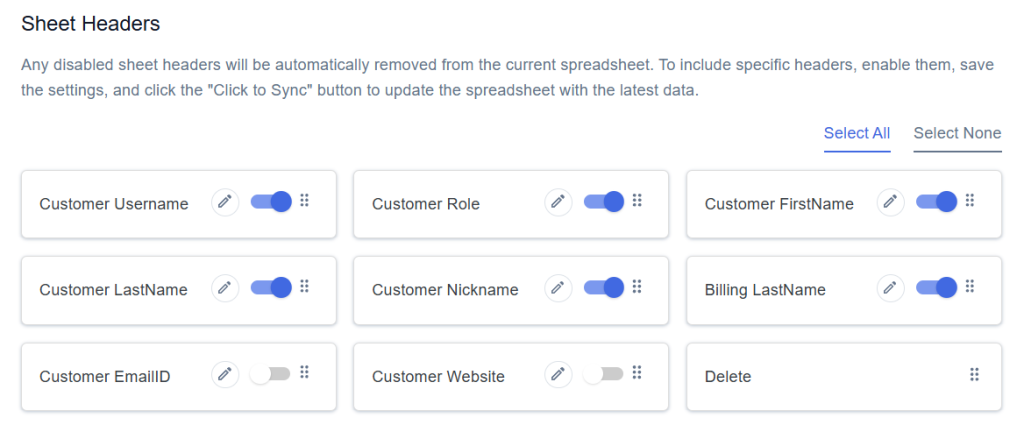
Enabled options will be displayed in the Sheet headers.
You can Enable/Disable the sheet headers as per your requirement.
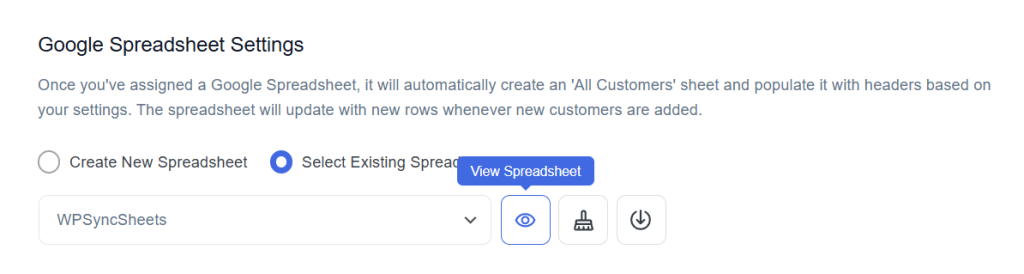
Step 6
After that in Google Spreadsheet Settings click on View Spreadsheet.
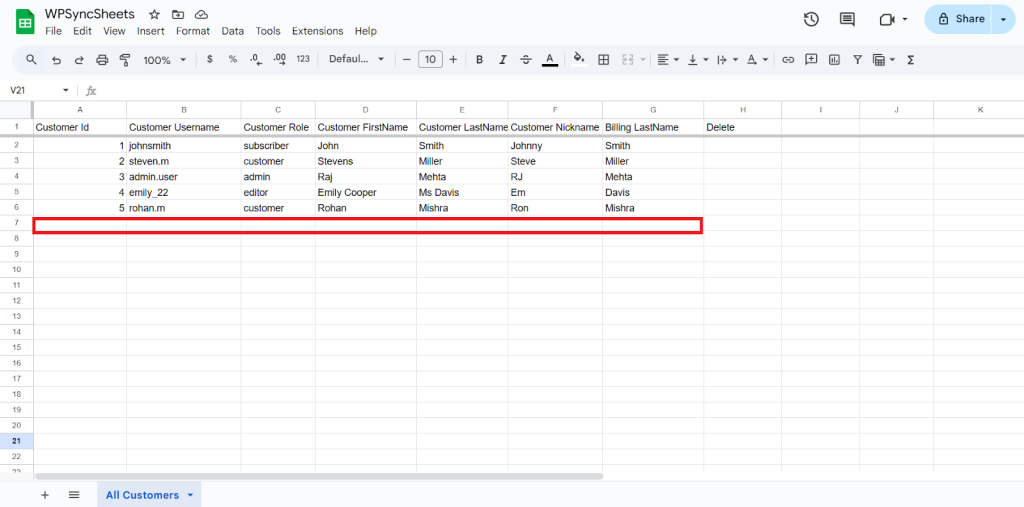
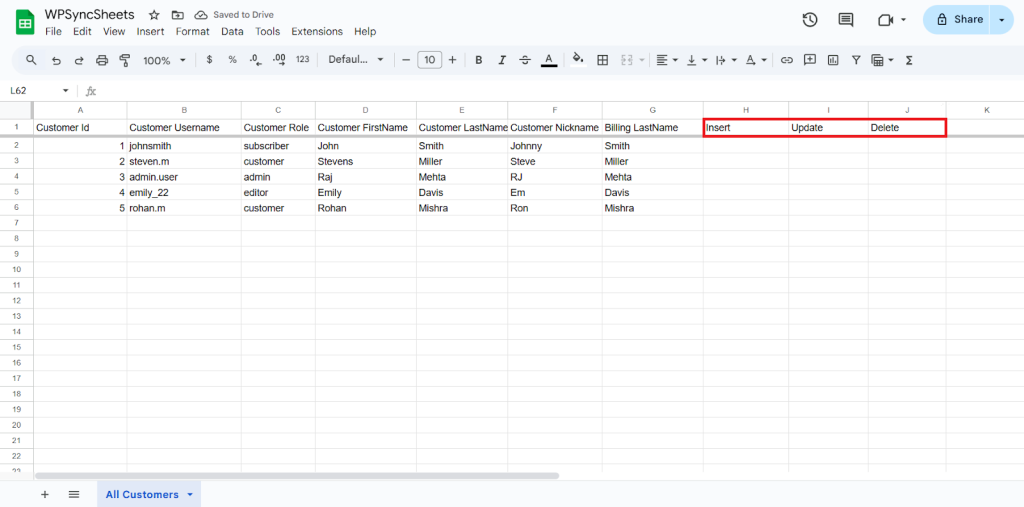
Original Spreadsheet
Insert Customers
Step 1
Enable Insert to import your desired data and click on save settings.
Step 2
Enable/Disable the sheet headers as per your requirement and click on Save.
Step 3
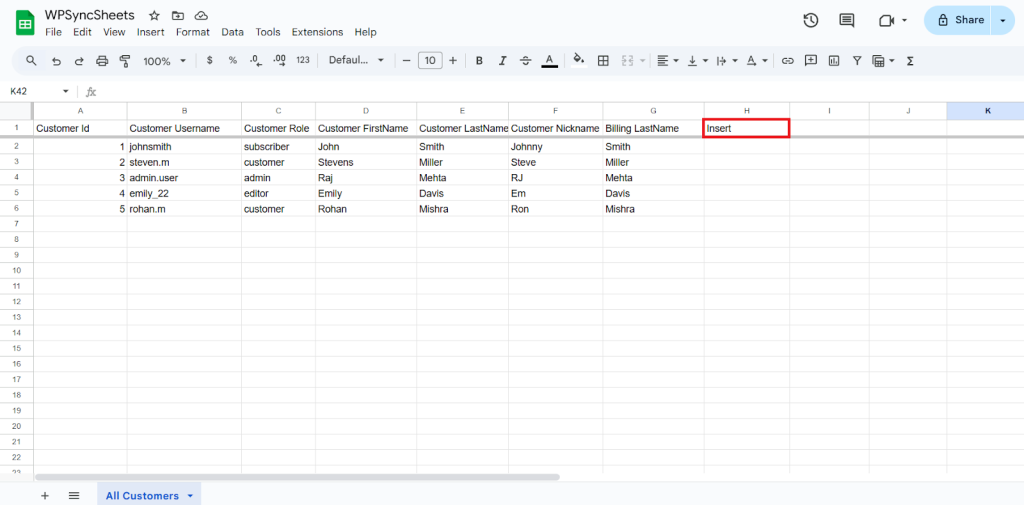
After you save the settings you will have the “Insert” column in your connected Google Spreadsheet parallely Import Customer option in the settings page.
Step 4
Fill in the required details. Go to the Insert column and type “1” in the row you want to create a new customer.
For Example:
- Customer ID: Leave blank for new customers.
- Username: Enter the username for the customer account.
- Role: Enter the user role (e.g., customer, subscriber).
- First Name: Enter the first name of the customer.
- Last Name: Enter the last name of the customer.
- Billing Last Name: Enter the last name for billing details.

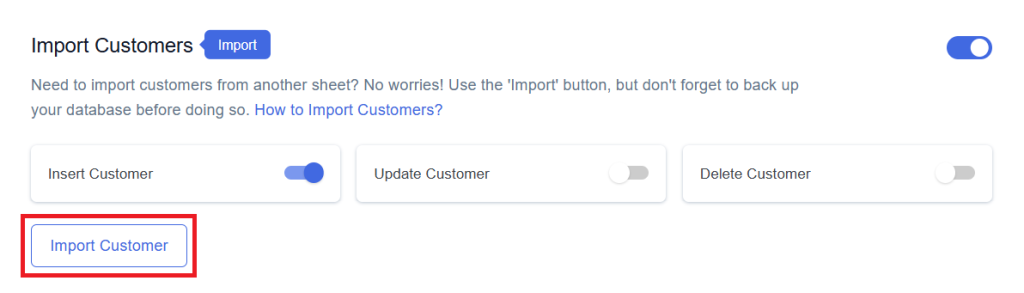
Step 5
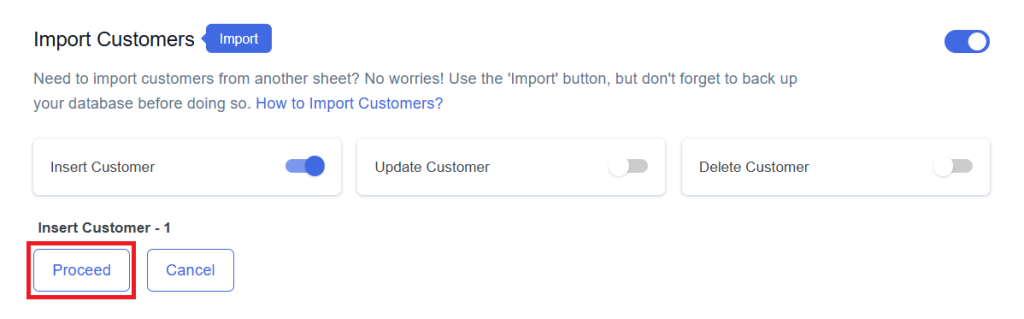
Click on Import Customer.
Step 6
Now, you will have the Proceed option, click on it.
Final Spreadsheet

Update Customers
Do not leave the following fields blank when updating:
- Customer UserID
- Customer Email
- Customer Nickname
The following fields cannot be updated from the spreadsheet:
- Customer Username
- Customer Profile Image
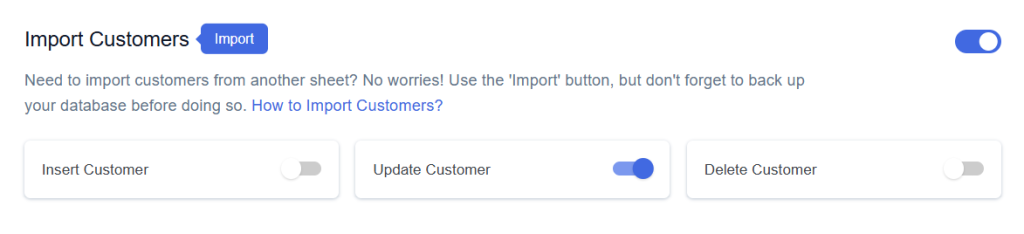
Step 1
Enable Update button to update your desired data and click on save.
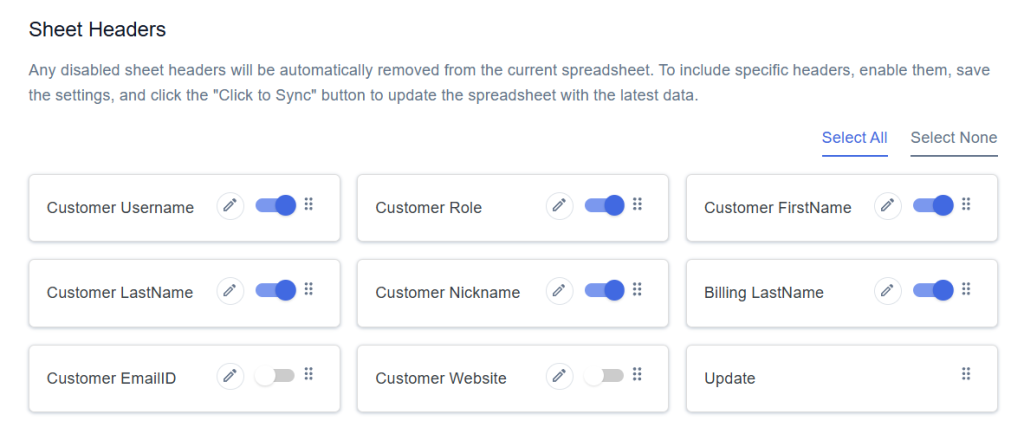
Step 2
Enable/Disable the sheet headers as per your requirement and click on Save.
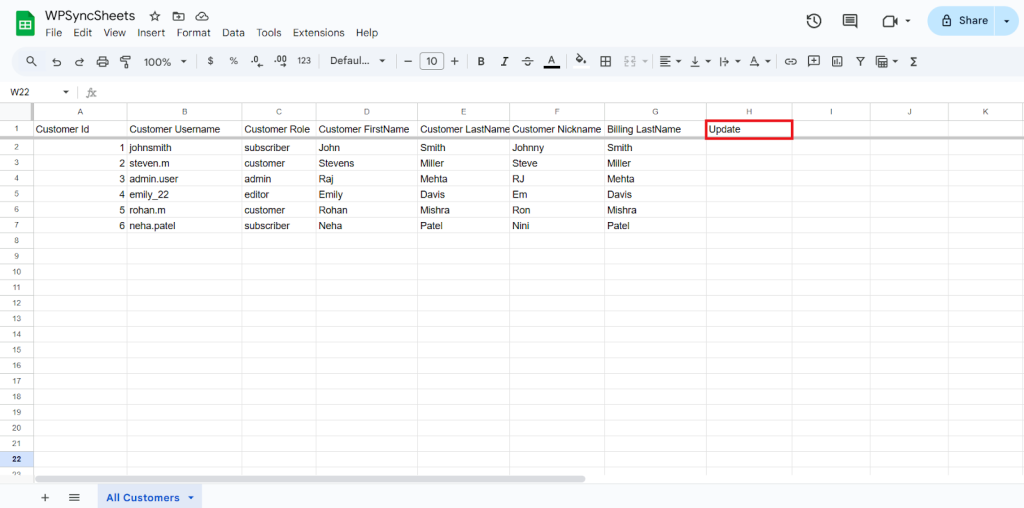
Step 3
After you save the settings you will have the “Update” column in your connected Google Spreadsheet parallely Import Customer option in the settings page.
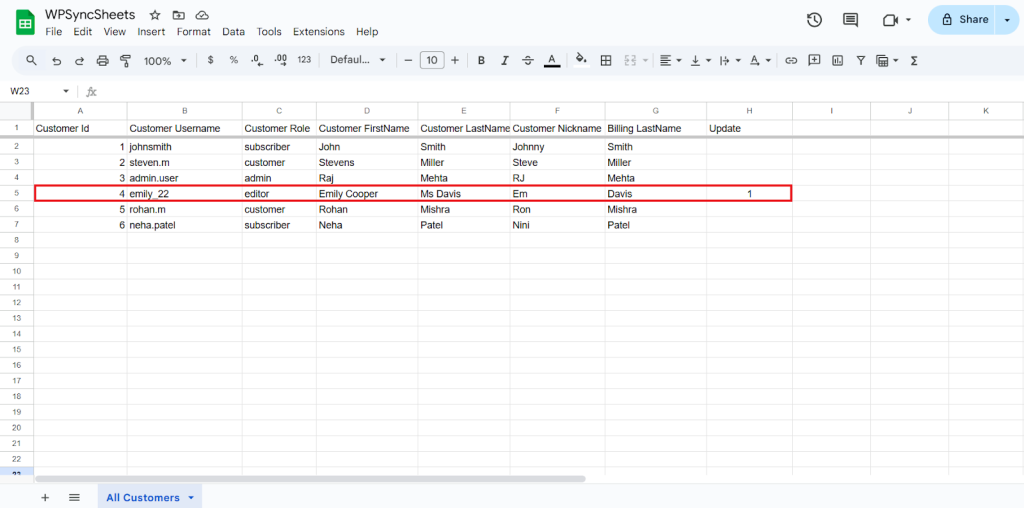
Step 4
Make the changes you want and in the Update column of that row, type “1”, to update a particular column.
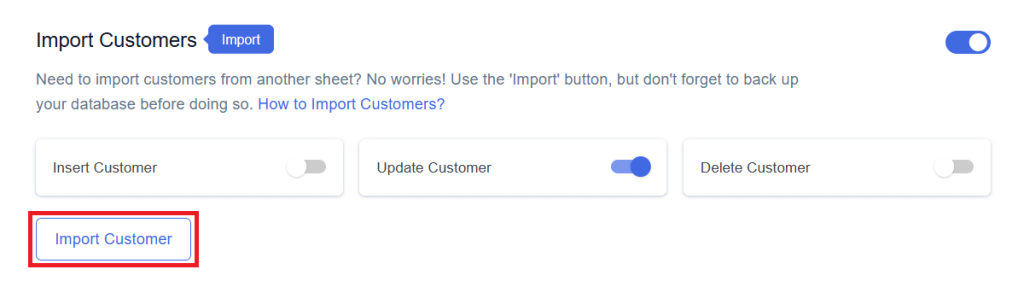
Step 5
Click on the Import Customer button to apply the updates.
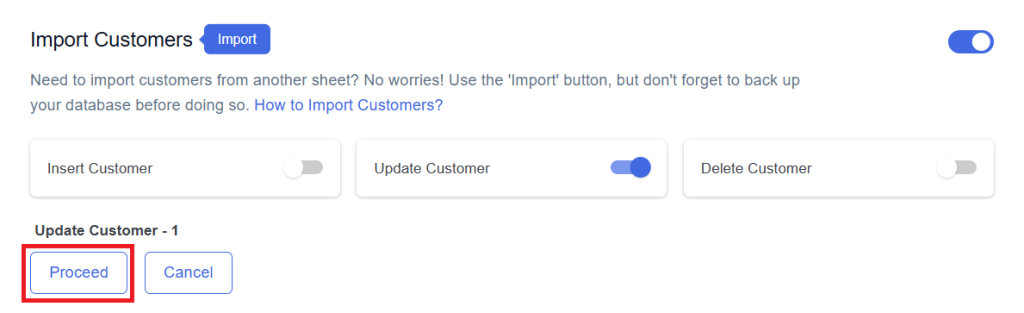
Step 6
Now, you will have the Proceed option, click on it.
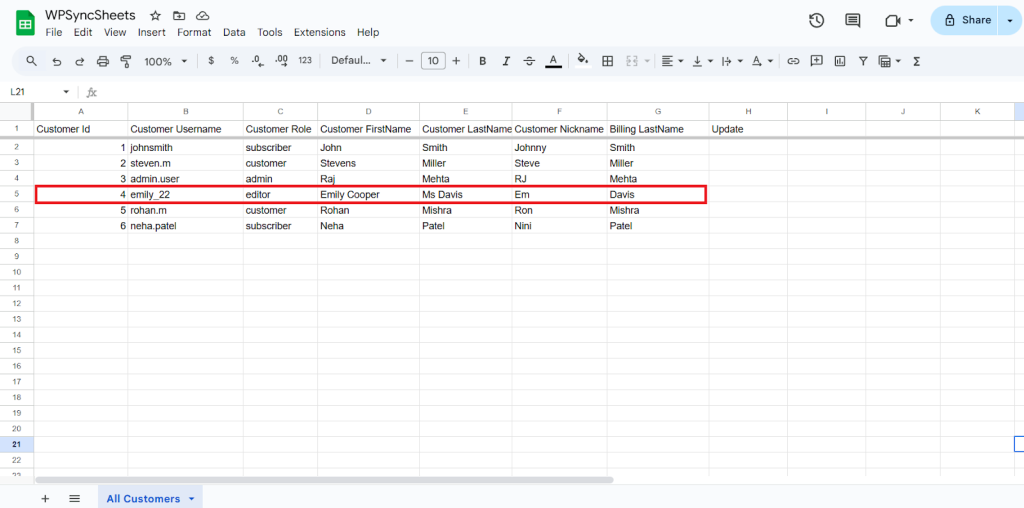
Final Spreadsheet
Delete Customers
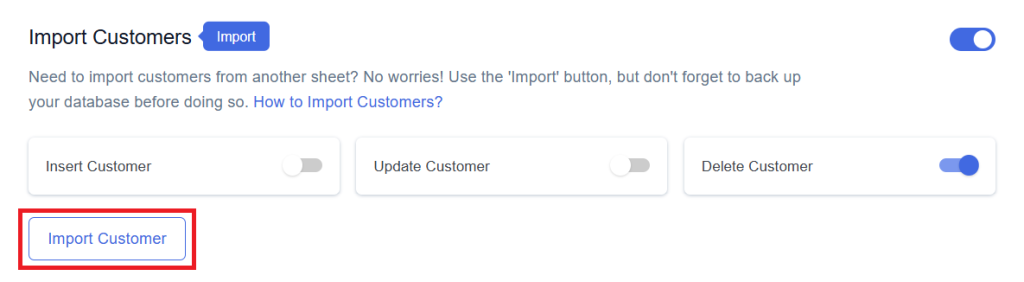
Step 1
Enable the Delete button to update your desired data and click on save.
Step 2
Enable/Disable the sheet headers as per your requirement and click on Save.
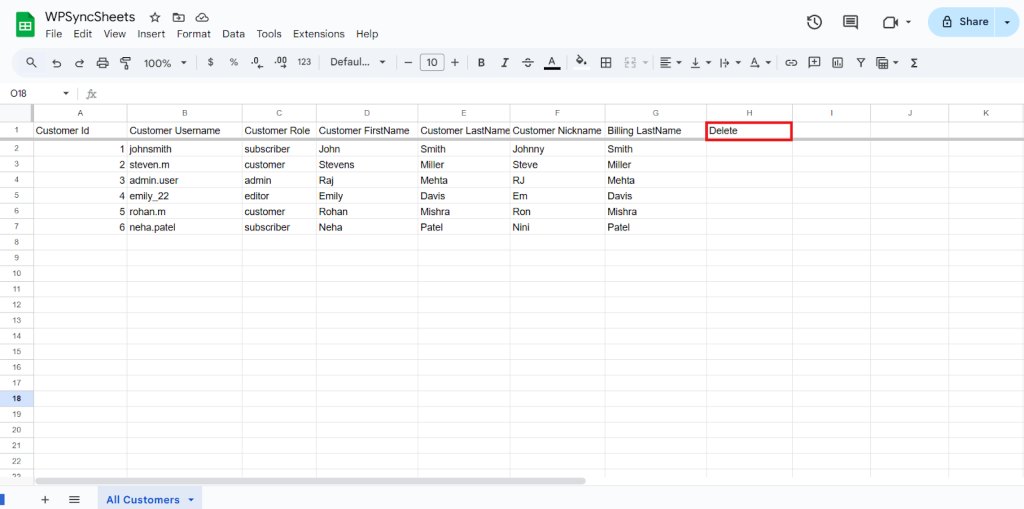
Step 3
After you save the settings you will have the “Delete” column in your connected Google Spreadsheet parallely Import Customer option in the settings page.
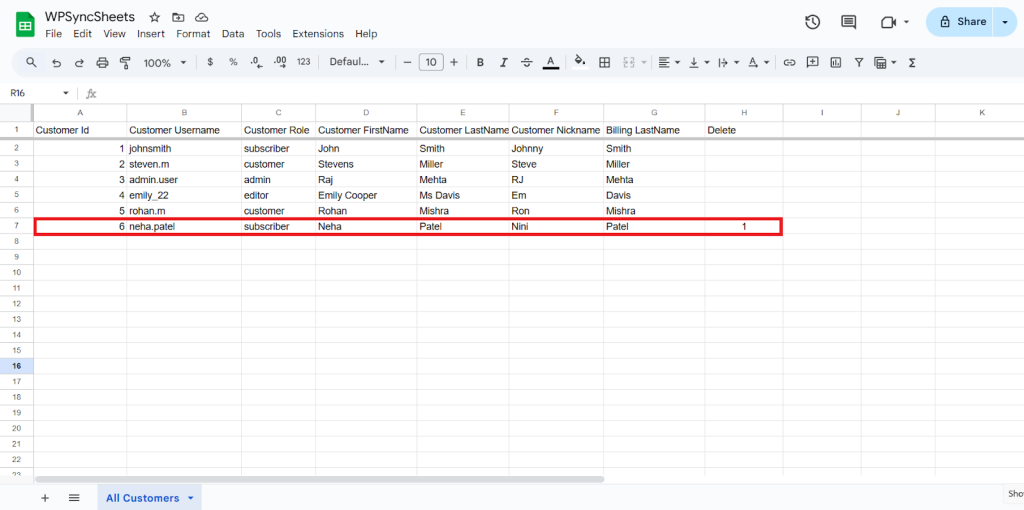
Step 4
In the Delete column of that row, type “1”, to delete a particular column.
Step 5
Click on Import Customer
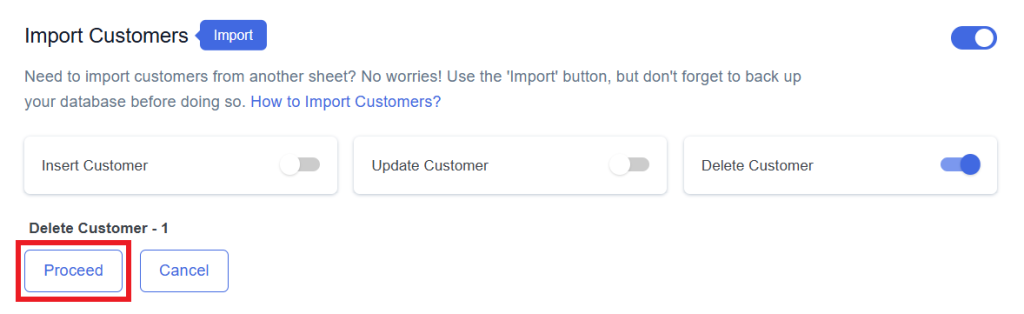
Step 6
Now, you will have the Proceed option, click on it.
Final Spreadsheet