How To Add Custom Headers From Metadata?
Step 1: Open WPSyncSheets Dashboard
In your WordPress Dashboard, go to WPSyncSheets.
Step 2: Locate the Main Tabs
At the top, you’ll see four main tabs — Dashboard, API Integration, Settings, and License.
Step 3: Open the Settings Tab
Click on the Settings tab.
Step 4: Access Order Settings
Scroll down and open the Order Settings section.
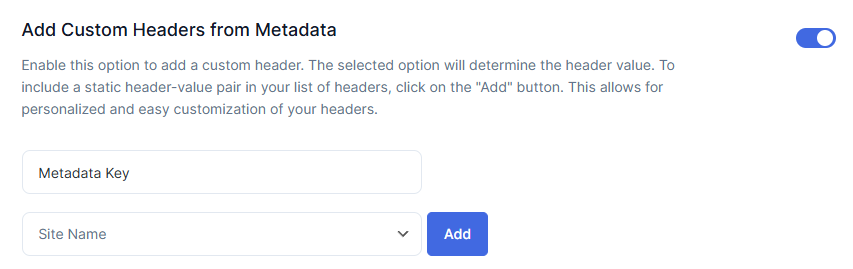
Step 5: Enable Custom Headers from Metadata
Turn ON the toggle for Add Custom Headers from Metadata.

Step 6: Enter Header Name
Enter a Header Name — this will be the column title shown in your connected Google Sheet.
Step 7: Select Metadata Field
From the Metadata Field dropdown, choose the WooCommerce metadata key you want to map to that header.
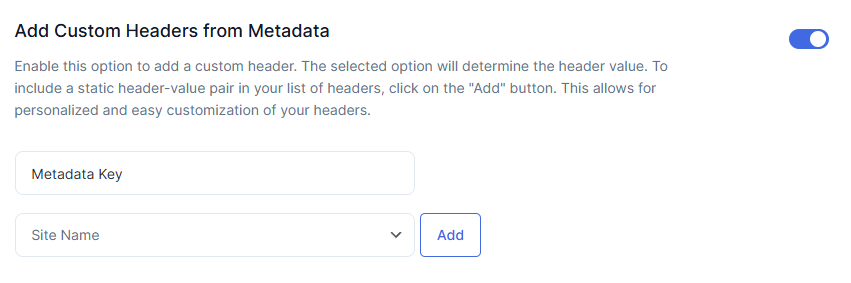
Step 8: Add Header to the List
Click Add to include the header in your list.
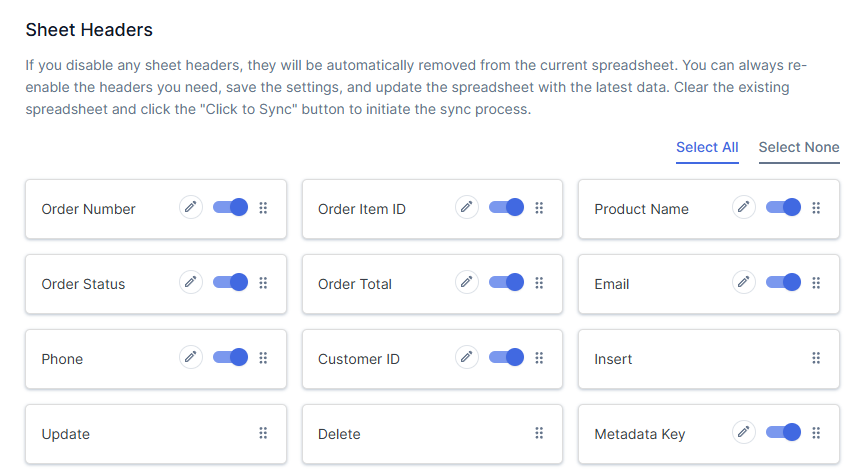
Step 9: Save Settings and View Spreadsheet
After adding all the desired headers, click Save Settings. Then, click on the View Spreadsheet button to open your linked Google Sheet — here you’ll see your new custom metadata columns added automatically.
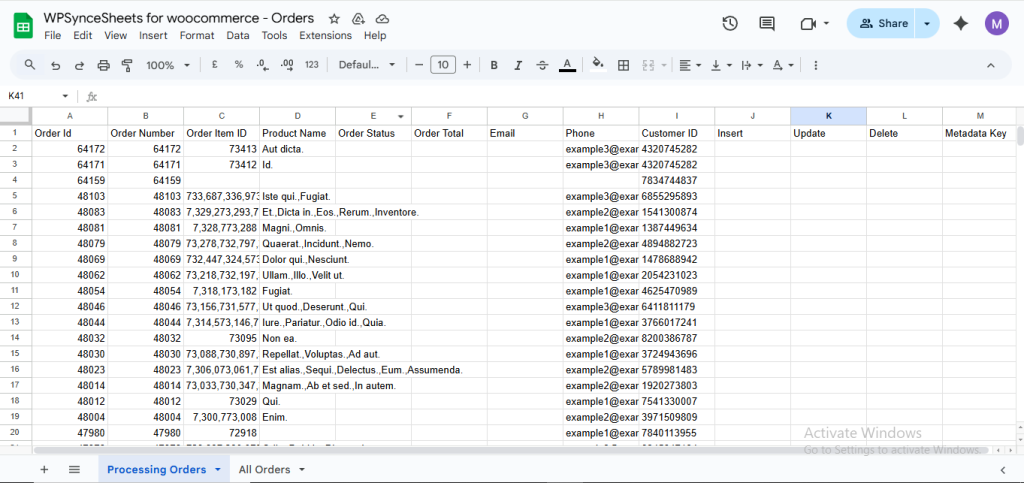
Step 10: Verify Metadata in the Sheet
When orders are exported or synced, the selected metadata values will automatically appear under their matching custom headers in Google Sheets.


