Import Users to WordPress Easily with WPSyncSheets Plugin
If the admin wants to add new users, update existing ones, or assign roles in bulk, they can use Import Users to manage this directly from Google Sheets. It saves time, minimizes manual input errors, and streamlines users administration within WordPress.
How to Import Users?
Step 1
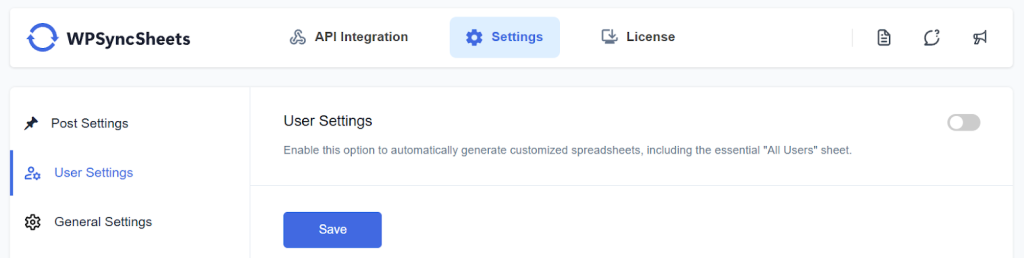
Navigate to Settings > User Settings and enable the User Settings option.
Step 2
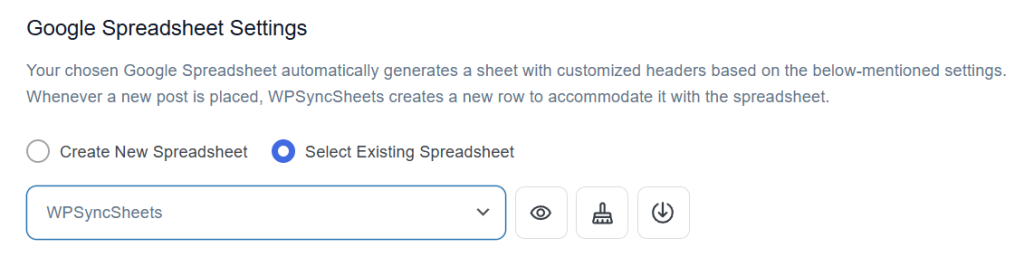
Click “Create New Spreadsheet” and give a name of your spreadsheet or “Select Existing Spreadsheet”
Step 3
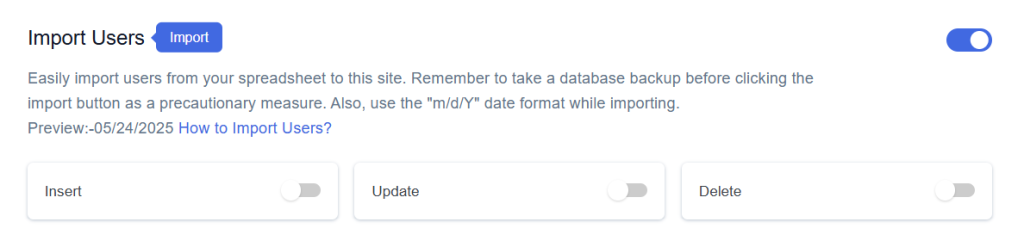
Find and enable the Import Users option.

Step 4
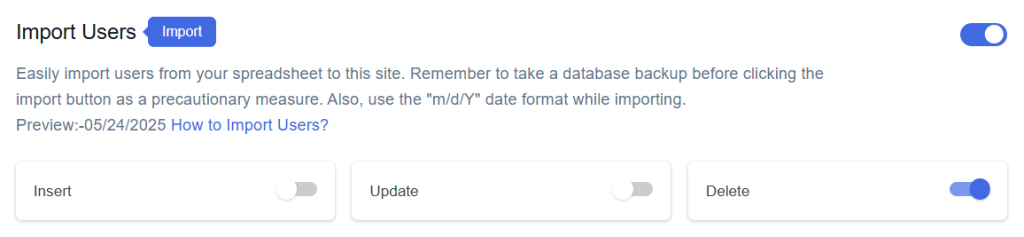
Enable/Disable the options insert/update/delete as per your requirement and Save Settings.
Step 5
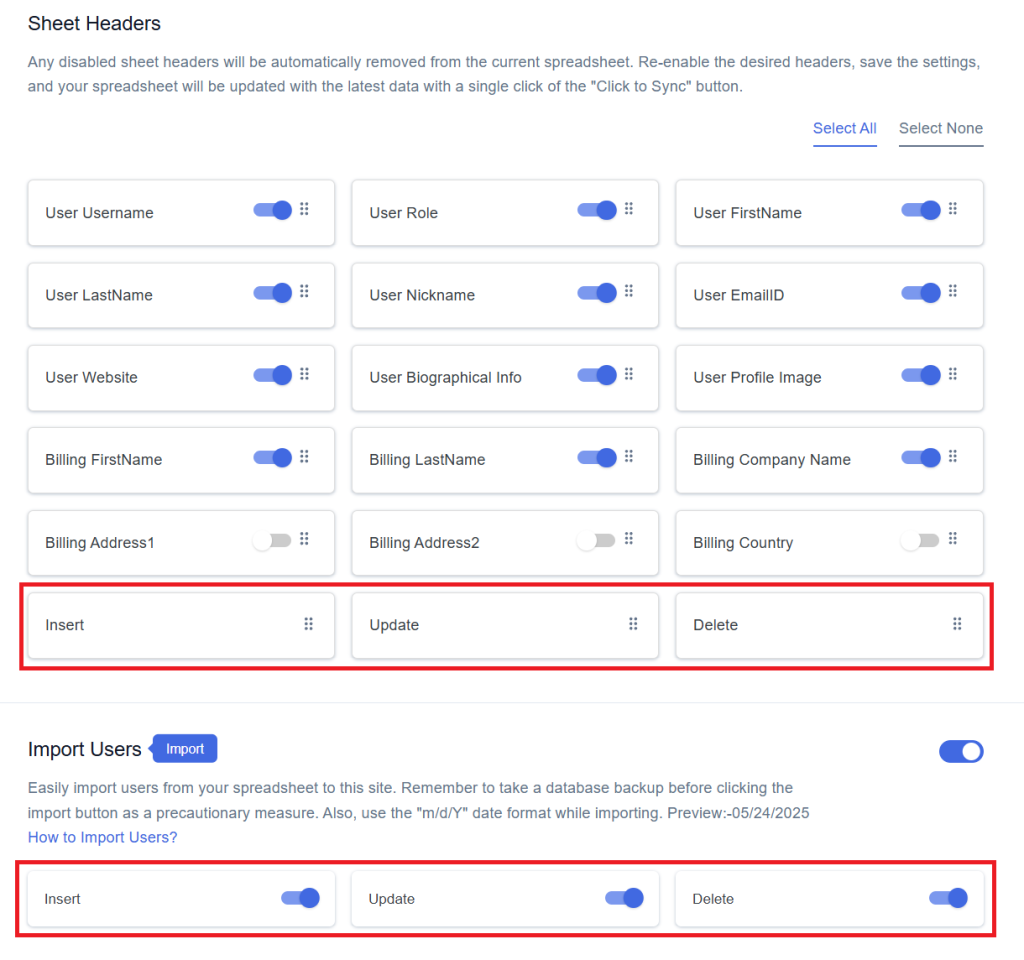
Enable the option which operation you want to do and the enabled option will be displayed in the Sheet headers.
You can Enable/Disable the sheet headers as per your requirement.
Step 6
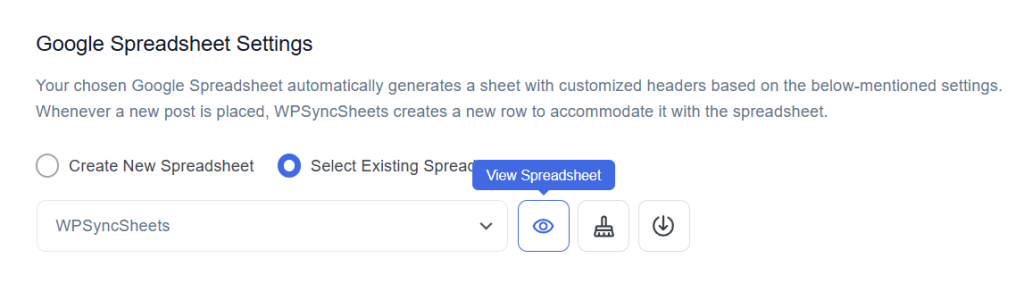
After that in Google Spreadsheet Settings click on View Spreadsheet.
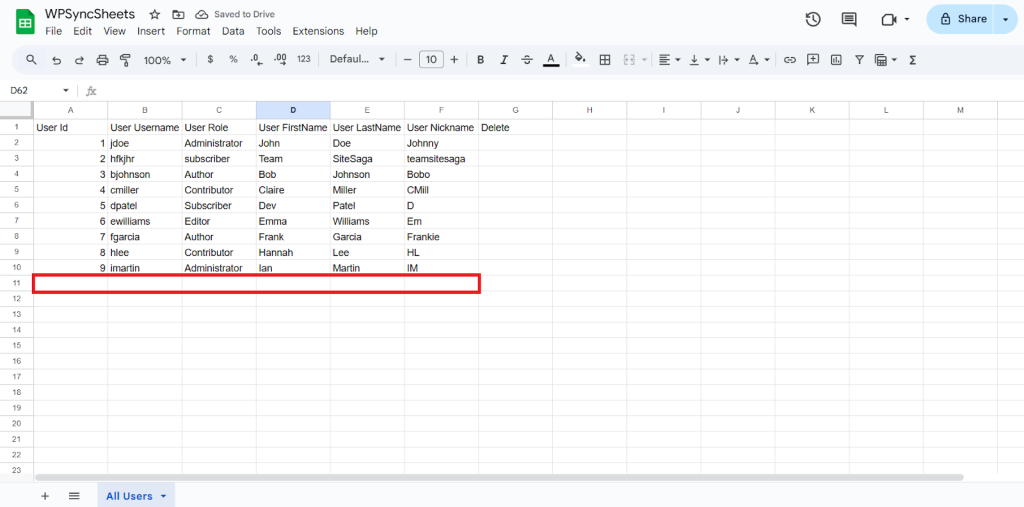
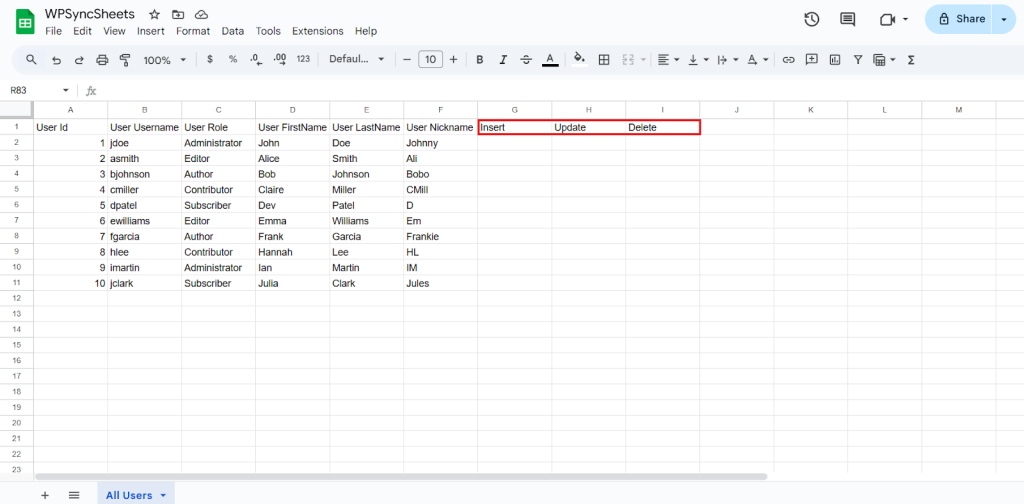
Original Spreadsheet
Insert Users
Step 1
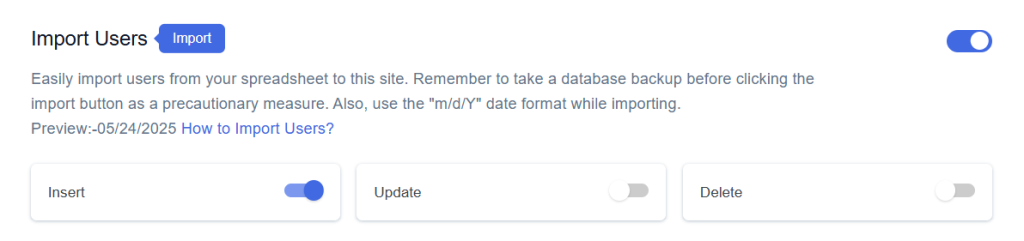
Enable Insert to import your desired data and click on Save.
Step 2
After you save the settings you will have the “Insert” column in your connected Google Spreadsheet parallely Import Users option in the form settings page.

Step 3
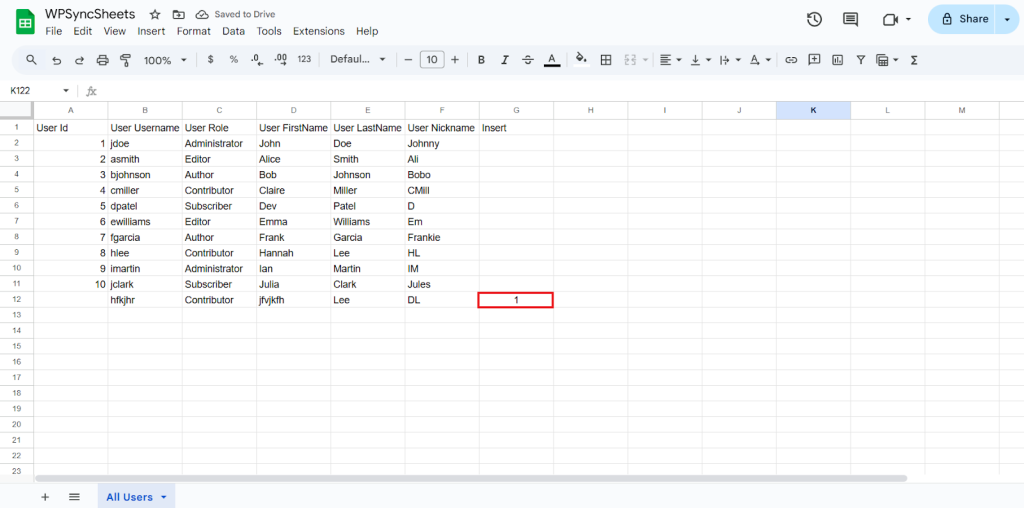
Fill in the required post details. Go to the Insert column and type “1” in the row you want to create a new user.
For Example
- User ID: Leave this blank ( Generate automatically).
- Username: Enter the user’s username
- User Role: Enter the user’s role (e.g., Administrator, User, Admin)
- First Name: Enter the user’s first name
- Last Name: Enter the user’s last name
- Nickname: Enter the user’s nickname
Step 4
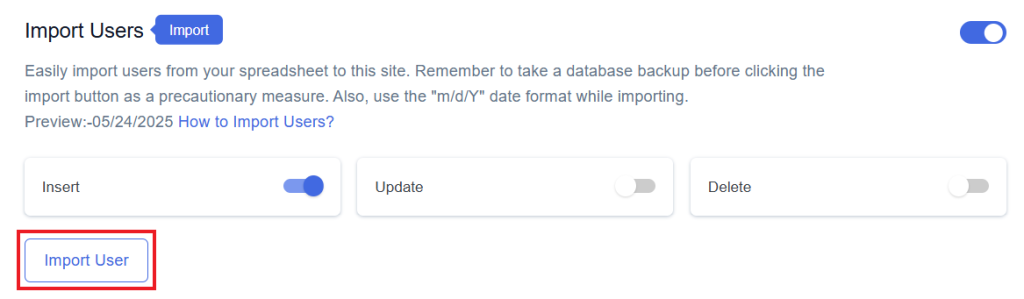
Click on Click to Import User.
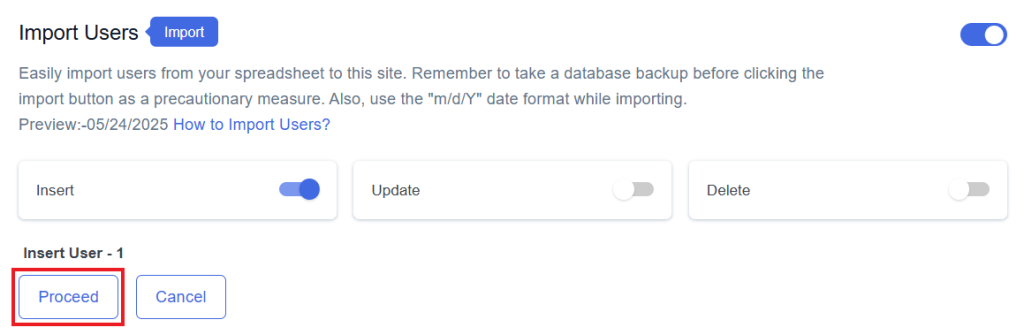
Step 5
Now, you will have the Proceed option, click on it.
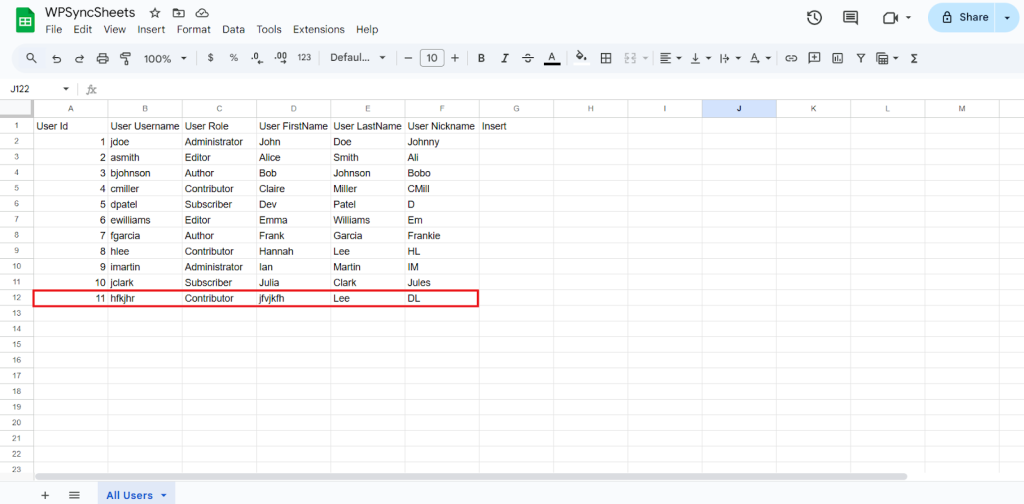
Final Spreadsheet
Update User
Step 1
Enable Update button to update your desired data and click on save.
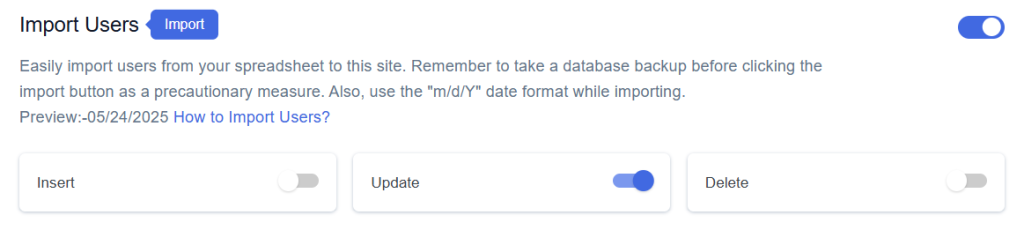
Step 2
After you save the settings you will have the “Update” column in your connected Google Spreadsheet parallely Import User option in the form settings page.
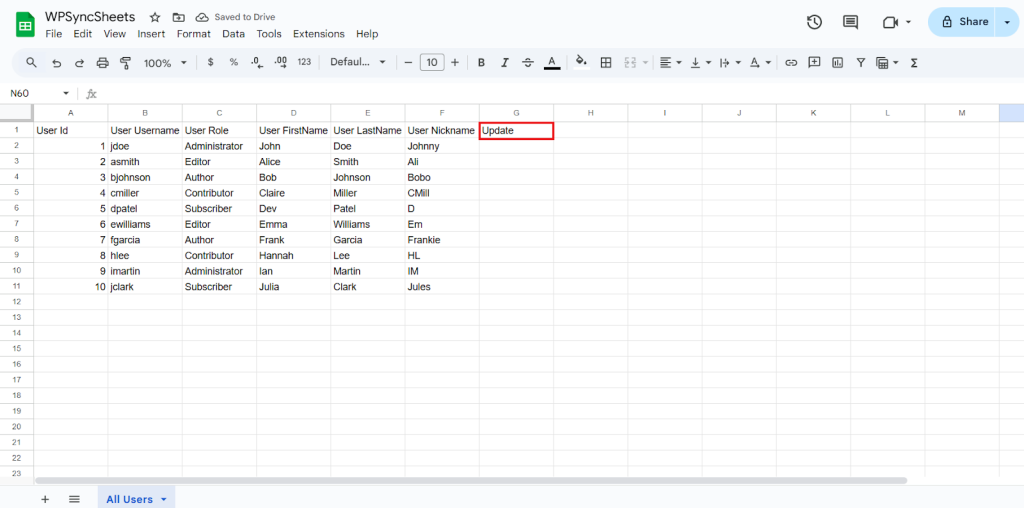
Step 3
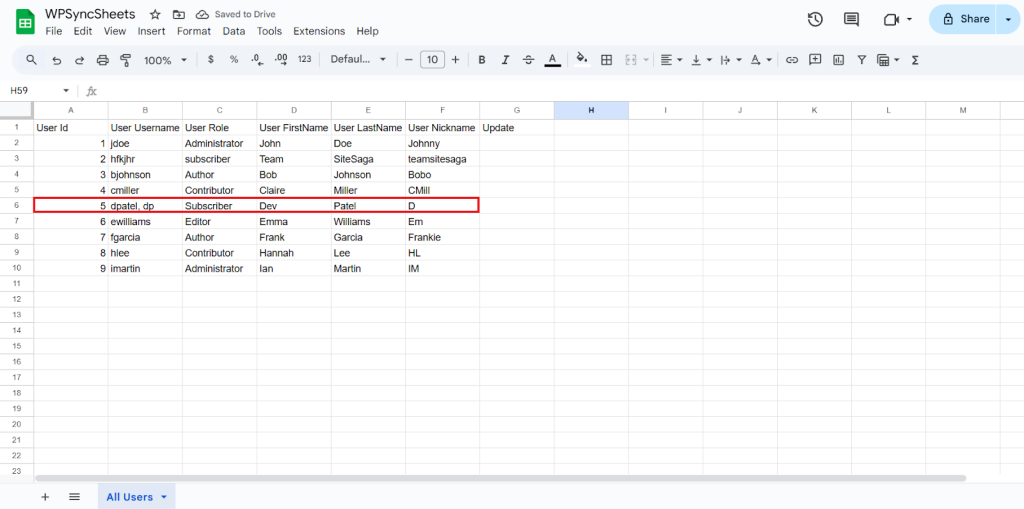
Make the changes you want and in the Update column of that row, type “1”, to update a particular column.

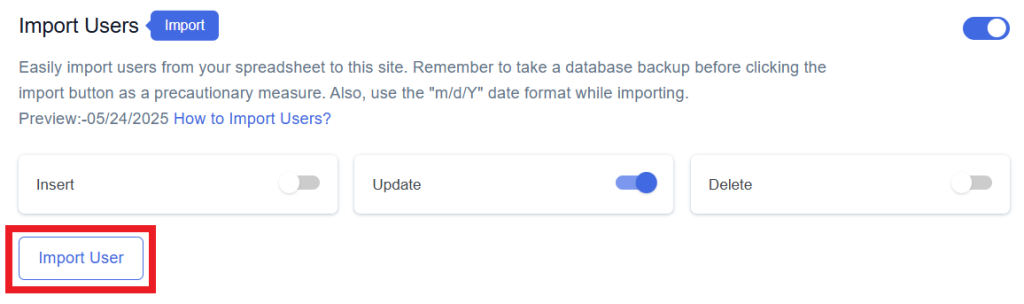
Step 4
Click on the Import User button to apply the updates.
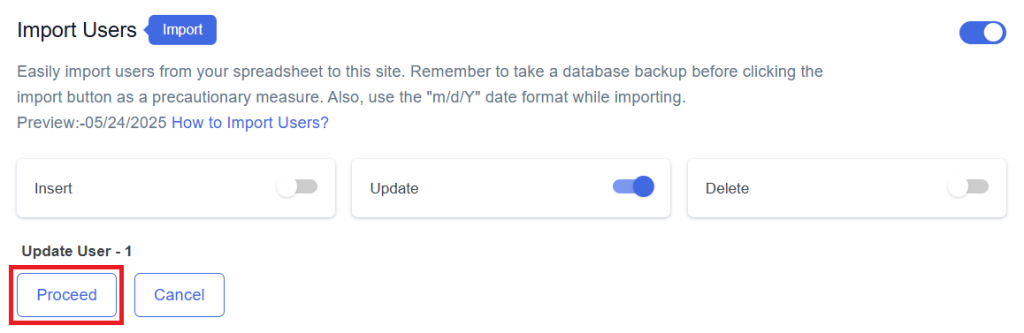
Step 5
Now, you will have the Proceed option, click on it.
Final Spreadsheet
Delete User
Step 1
Enable the Delete button to update your desired data and click on save.
Step 2
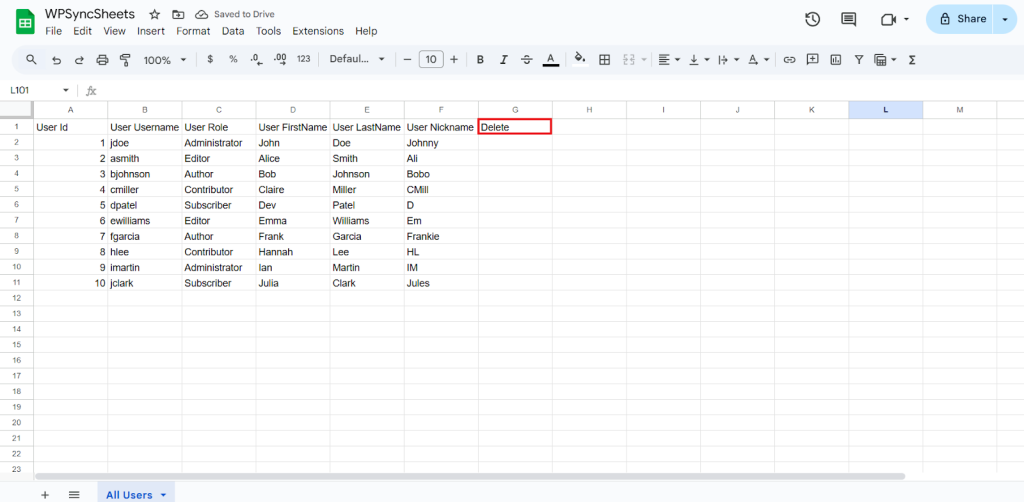
After you save the settings you will have the “Delete” column in your connected Google Spreadsheet parallely Import User option in the form settings page.
Step 3
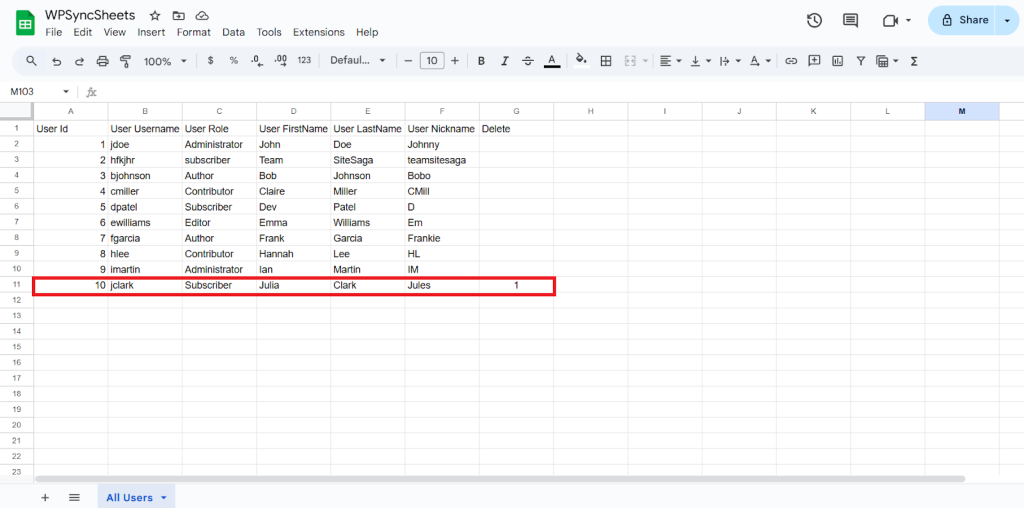
In the Delete column of that row, type “1”, to delete a particular column.
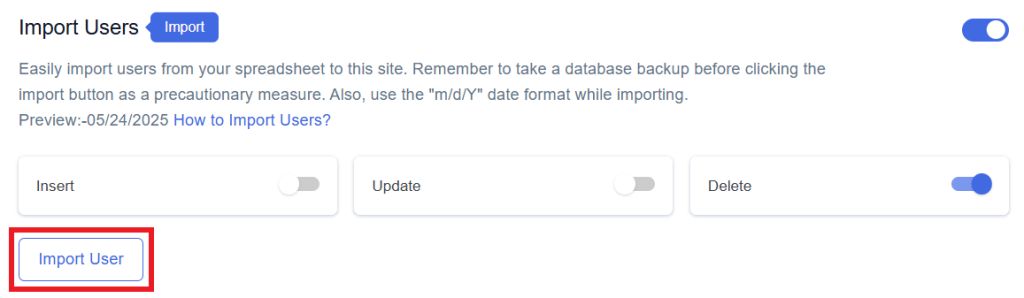
Step 4
Click on Import User
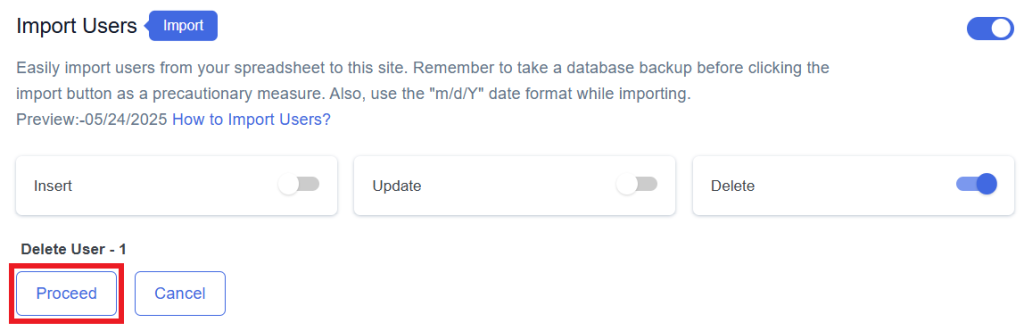
Step 5
Now, you will have the Proceed option, click on it.
Final Spreadsheet