Plugin Settings
For guidance to Create Google API settings and Plugin Settings. Go through Video Tutorial
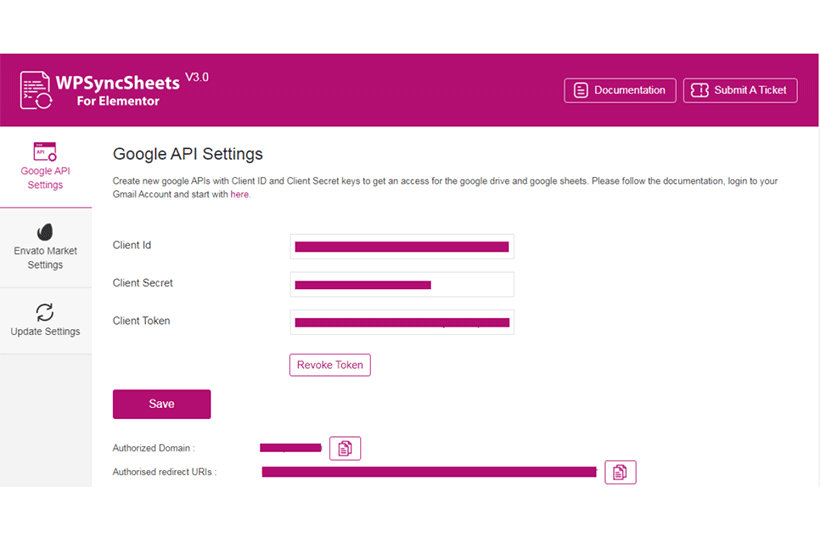
> Go to WPSyncSheets For Elementor => Google API Settings
1. Client ID and Client Secret Keys as per the documentation here.
Client Token by clicking to the button “Click here to generate an authentication token.” with allowing the access and paste the code within the Client Token field.
Note: Client Token will only be created if you will have added Client ID and Client Secret Keys with above fields.
2. WPSyncSheets For Elementor Settings
Pages => Edit with Elementor
Edit your form or insert new form and click on Actions After Submit option.
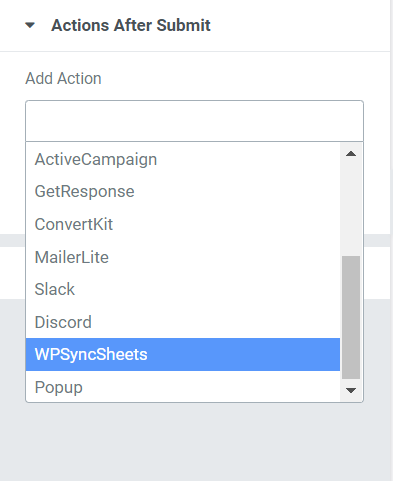
3. Select WPSyncSheets in Actions After Submit
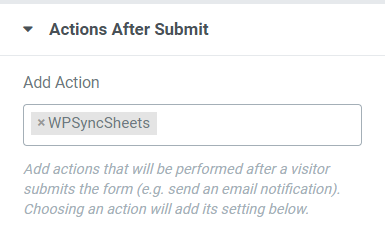
4. WPSyncSheets For Elementor Spreadsheet Settings
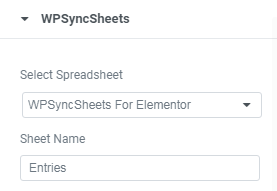
WPSyncSheets For Elementor Settings with Existing Spreadsheet
Select existing Spreadsheet Name from Select Spreadsheet Dropdown and Enter desire Sheet Name.
OR
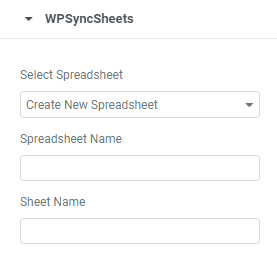
WPSyncSheets For Elementor Settings with Create New Spreadsheet and New Sheet
You can create a new spreadsheet and create a sheet directly from WPSyncSheets For Elementor settings. (no need to go with Google Drive). It will automatically set the default headers (Fields Name at first row) as per the form fields into the spreadsheet. Please refer the below screenshot for more details
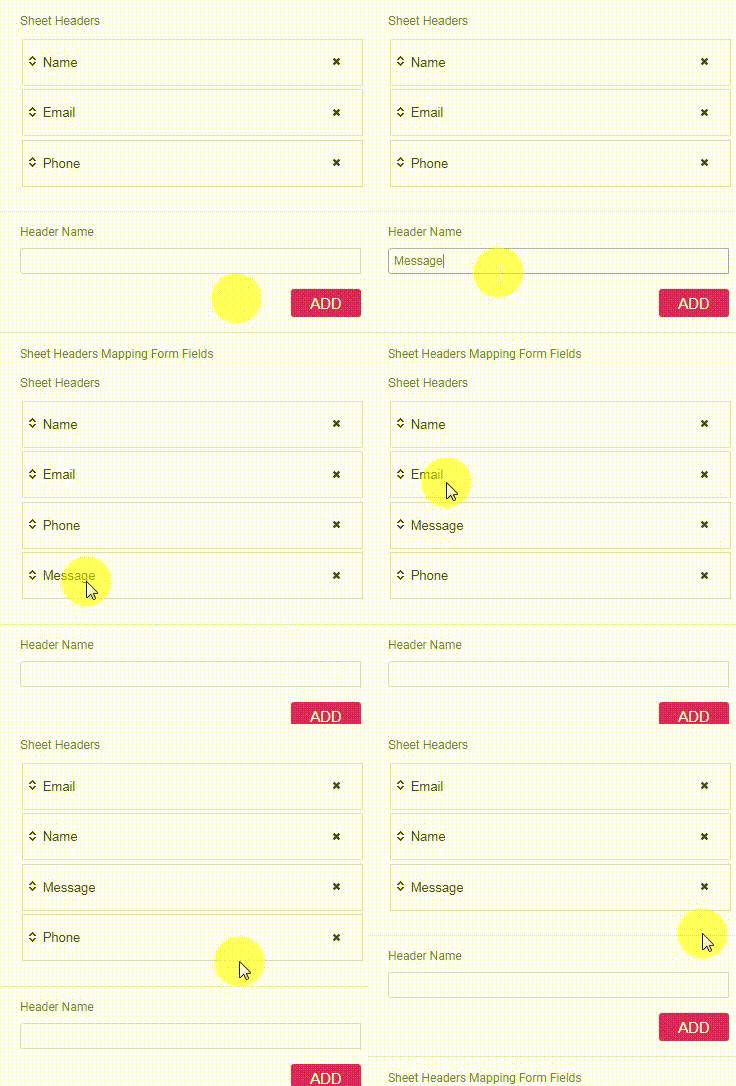
5. Enter Headers Name
In this section user can easily add / remove / sort sheet headers.
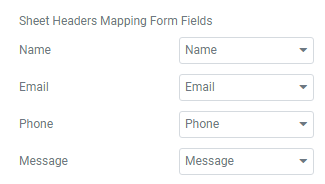
6. Sheet Headers Mapping Form Fields
This allows the user to associate left side sheet headers with the right side form fields, so that it can map the row within the Google Spreadsheet whenever form data is inserted.
Freeze Header
Users can easily freeze the header row (first row) of the sheet with the settings page option. It can be easily enabled/disable whenever we need it.

Submission Date
Enable/Disable Submission Date to add current date and time after filling the form.

Page Referer Url
Enable/Disable Page Referer Url to add Page Referer Url after filling the form.

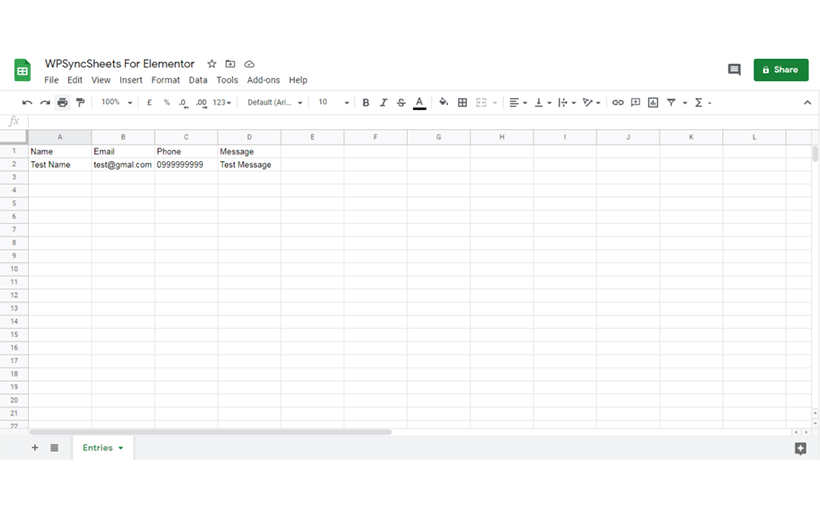
Updated Google Sheet
