Import Documents with WPSyncSheets For Document Library Pro plugin
If users want to add or update multiple documents, categories, or metadata at once, they can import this data from a spreadsheet into Document Library Pro. Importing saves time, reduces manual errors, and helps manage large documents collections efficiently.
How to Import Documents?
WPSyncSheets For Document Library Pro allows users to manage documents directly from Google Sheets. By enabling the “Import Documents” option in Document Settings, users can easily perform bulk operations such as inserting, updating, and deleting documents using predefined sheet headers like Insert, Update, and Delete. This helps to save time and avoids manual updates through the WordPress dashboard.
This feature is useful for those who frequently upload or modify large numbers of documents, such as PDFs, Word files, or other downloadable files. With just one sync, changes made in the spreadsheet are reflected on the WordPress site, making the process efficient and error-free.
In case you haven’t installed and activated the plugin yet, go to the Setup Guide and follow the steps.
Enable the Import Documents Feature
Step 1
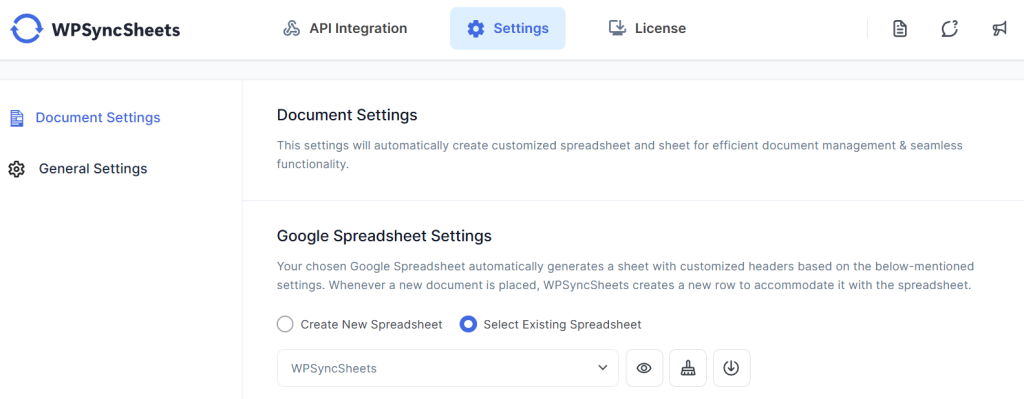
Navigate to Settings > Document Settings
Step 2
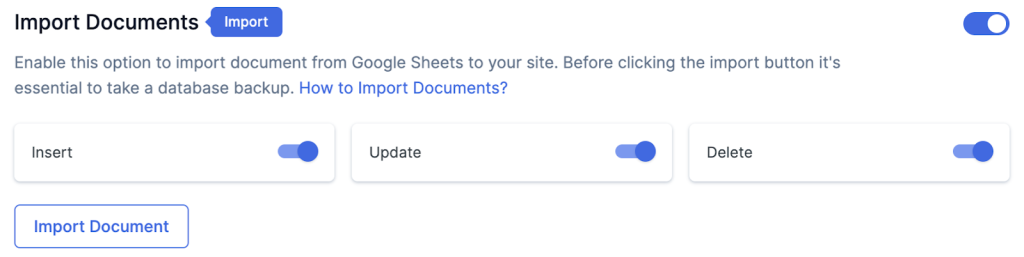
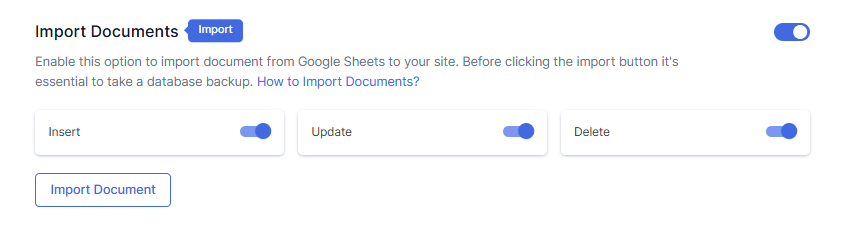
Find and enable the Import Documents option.
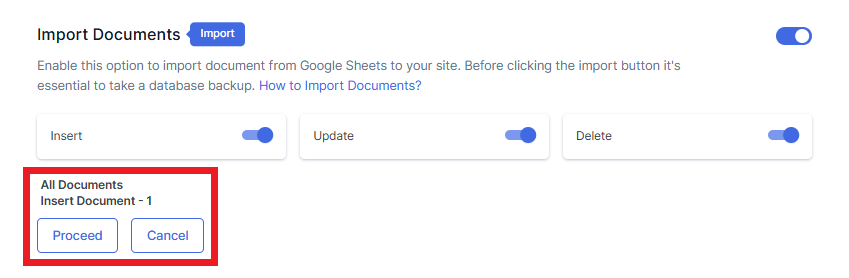
Enable/Disable the option insert/update/delete and then click Import Document.
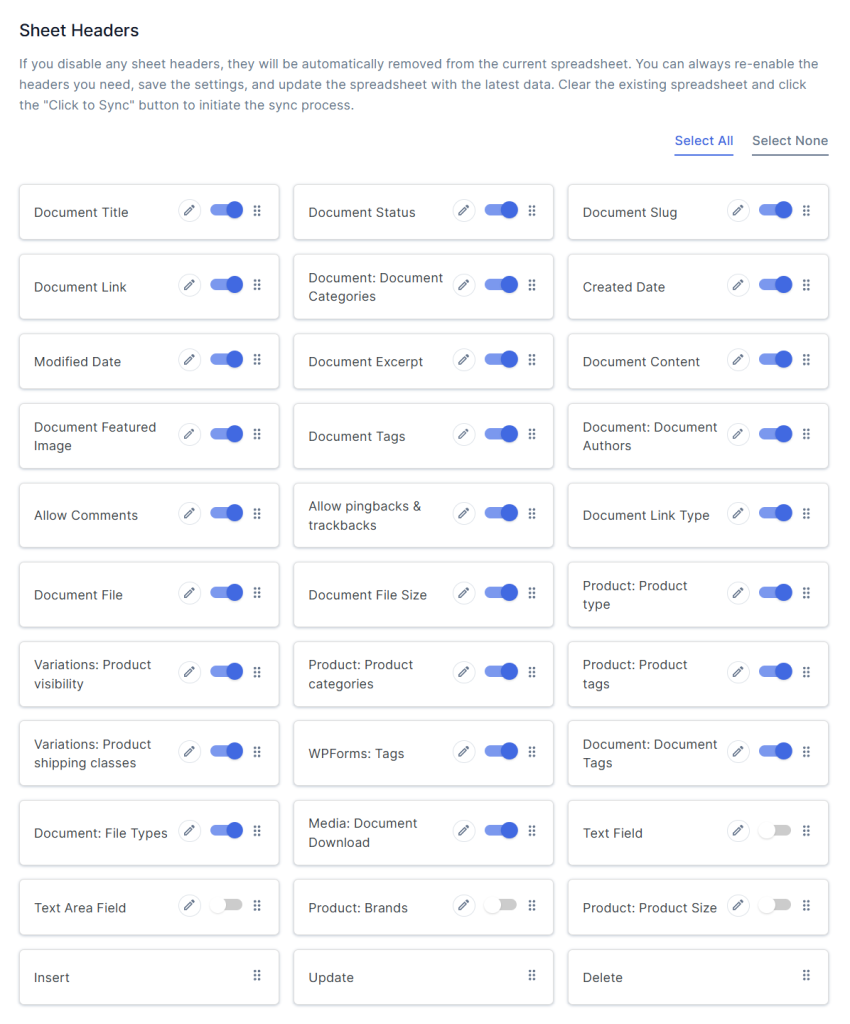
You can find the Import Documents option below the Sheet Headers.
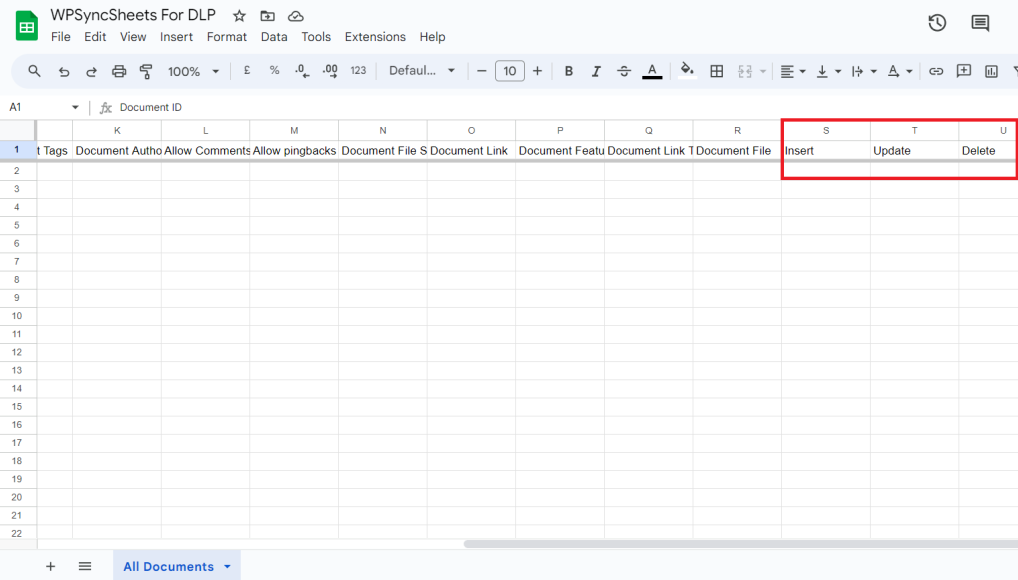
You can see the Insert/Update/Delete options at the end of the Sheet Headers, which have been enabled by you.
Step 3
After that in Google Spreadsheet Settings click on View Spreadsheet.
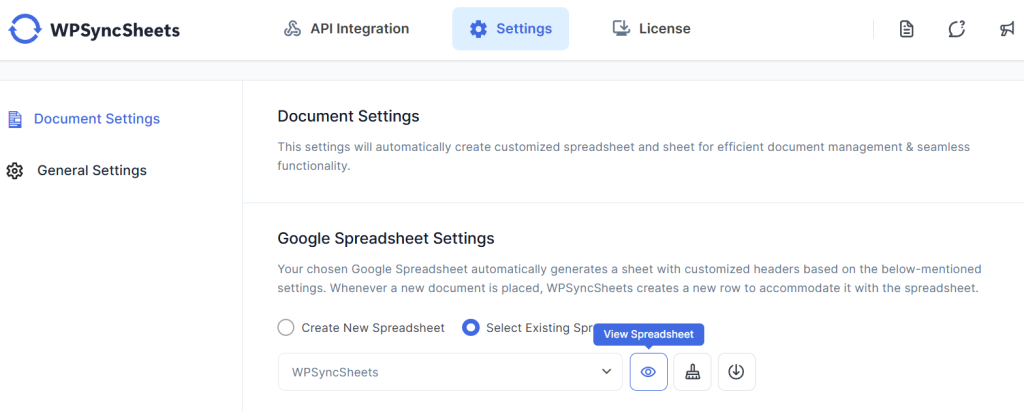
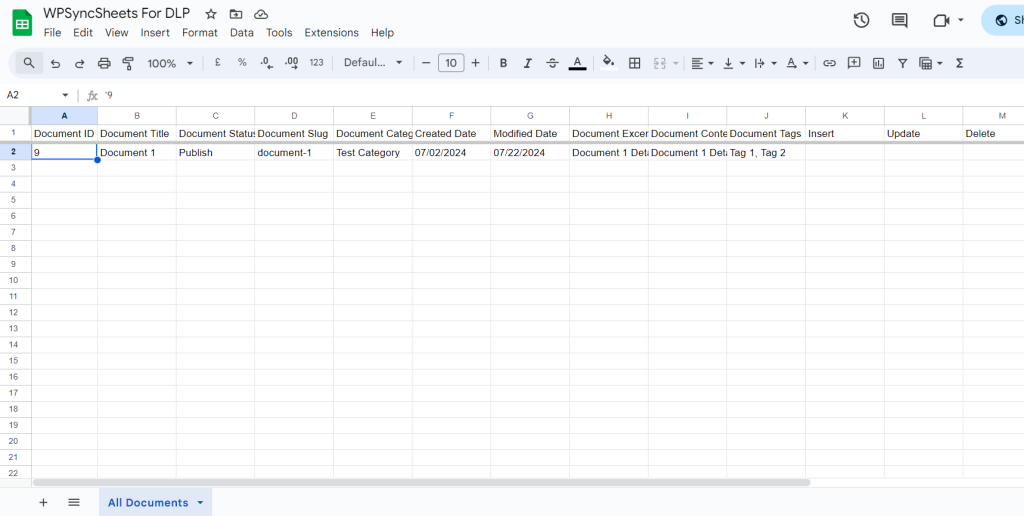
After the above steps, the plugin will automatically add three new columns to your linked Google Spreadsheet: Insert, Update, and Delete, which are used to manage document operations.
Insert Documents
Step 1
Open your linked Google Spreadsheet.
Step 2
Leave the Document ID column blank..
Step 3
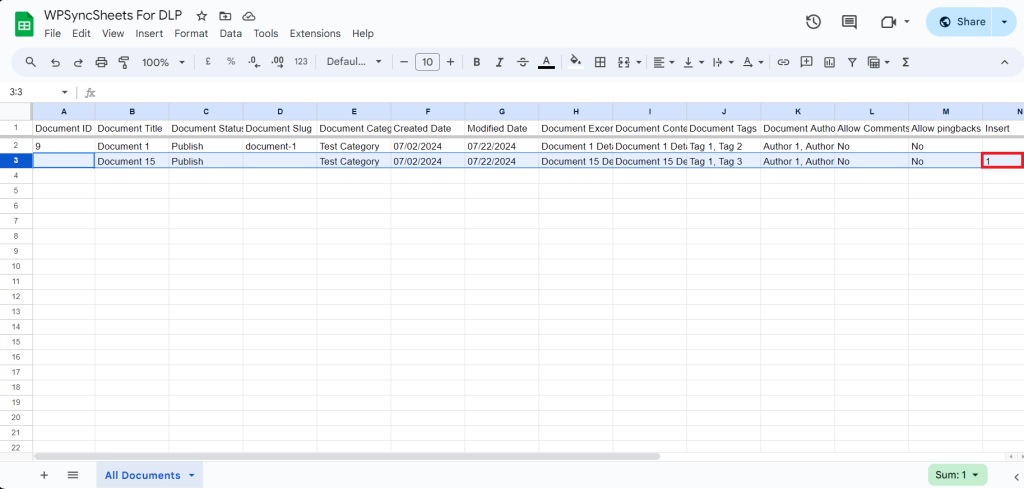
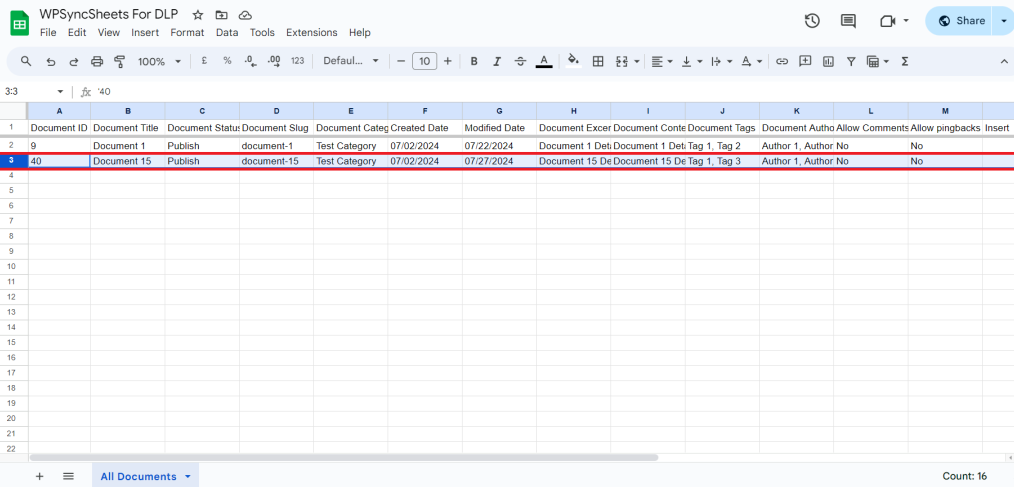
Enter the document details in the respective columns.
Step 4
In the Insert column of that row, type “1”.
For Example
- Document ID: Leave this blank.
- Document Title: Enter the desired title of your Document.
- Document Status: Depends on your document status (e.g., Draft or Published)
- Document Slug: This will be generated automatically.
- Document Category: Provide the category to which you want to assign the document.
- Created Date: Automatically generated based on the import date.
- Modified Date: Automatically updated based on any modifications.
- Document Author: Enter the author’s name.
- Allow Comments: Write Yes or No to enable or disable comments for the document
- Allow Pingpacks: Write Yes or No to enable or disable pingbacks for the document.
Step 5
Click on Import Document.

Step 6
After that click on Proceed.
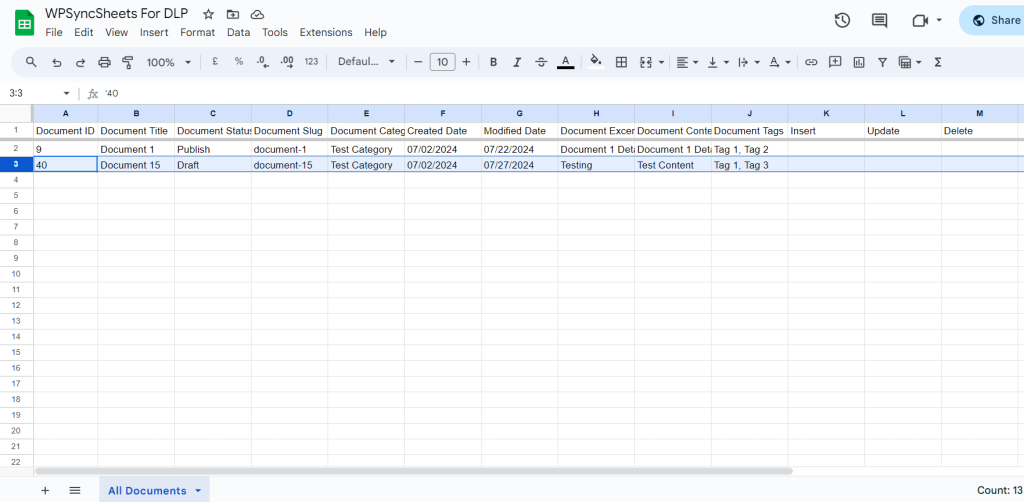
Modified Spreadsheet
Update Documents
Step 1
Open your linked Google Spreadsheet.
Step 2
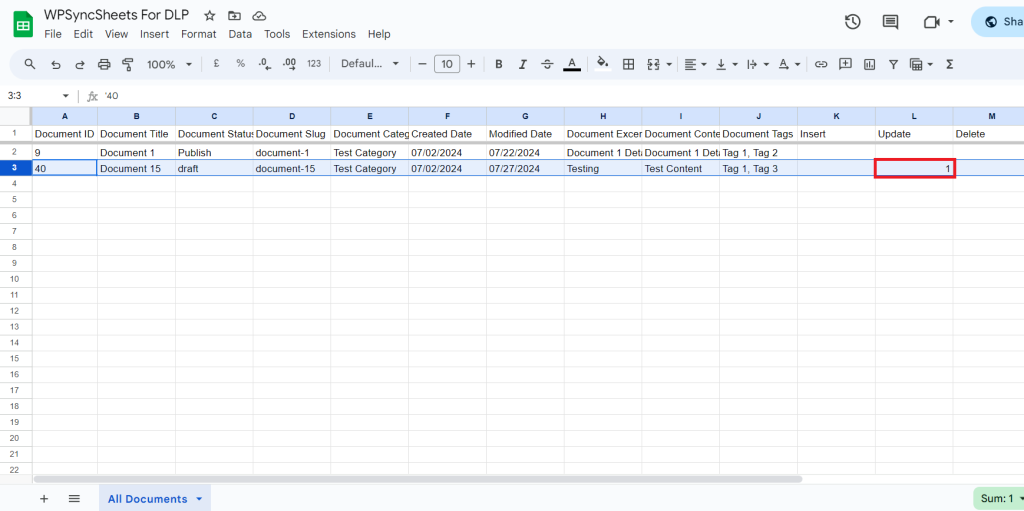
Make the necessary changes to the document details.
Step 3
In the Update column of that row, type “1”.
Step 4
Click on Import Document.
Step 5
After that click on Proceed.

Modified Spreadsheet
Delete Documents
Step 1
Open your linked Google Spreadsheet.
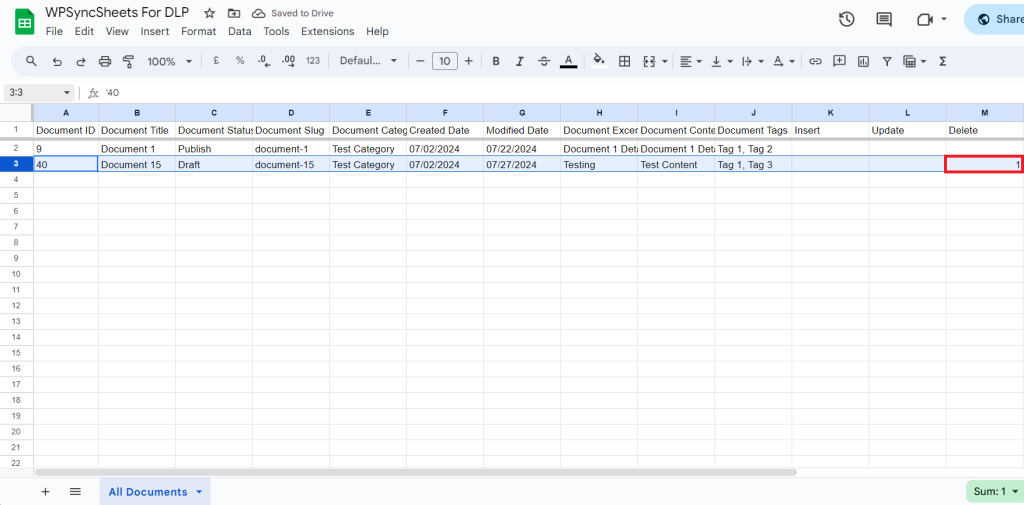
Step 2
In the Delete column of that row, type “1”.
Please make sure you have added “1” to the correct Document ID row for which you want to delete the document.
Step 3
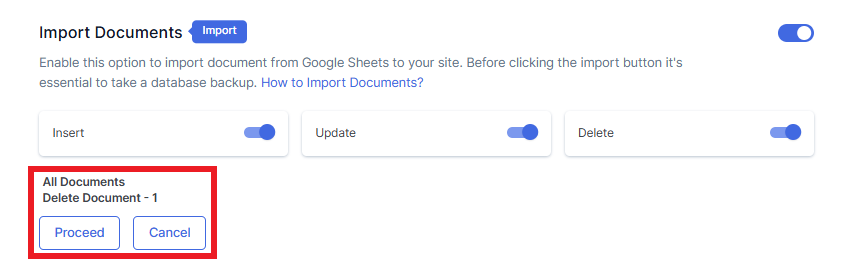
Click on Import Document.

Step 4
After that click on Proceed.
Modified Spreadsheet