Import Entries with WPSyncSheets For Gravity Forms plugin
If users want to add or update multiple form entries, field data, or metadata at once, they can import this data from a spreadsheet into Gravity Forms. Importing saves time, reduces manual errors, and helps manage large volumes of form data efficiently.
How to Import Entries?
Step 1
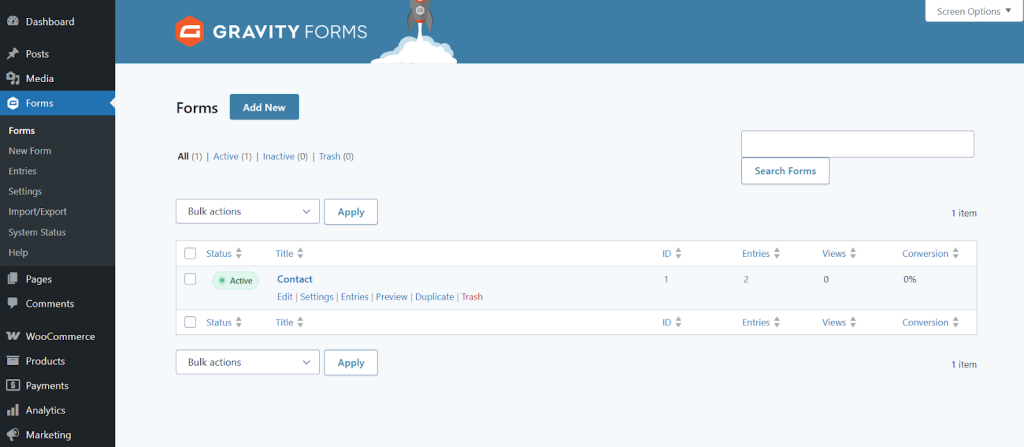
Navigate to Forms > Contact (Form as you have connected)
Step 2
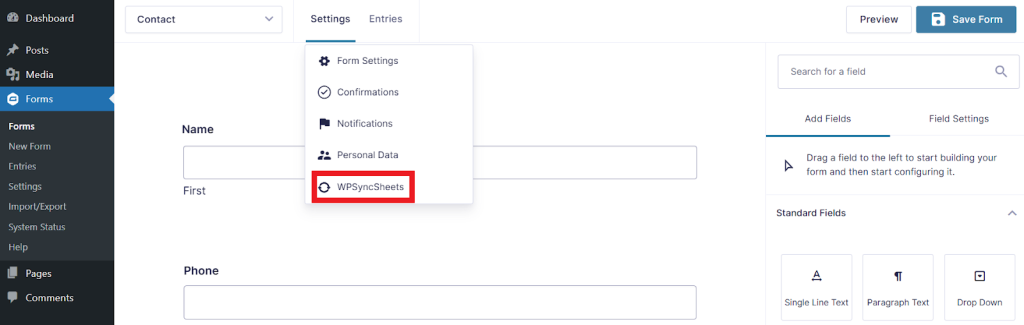
After clicking on contact you will see the below page. In that page
Navigate: Settings > WPSyncSheets
Step 3
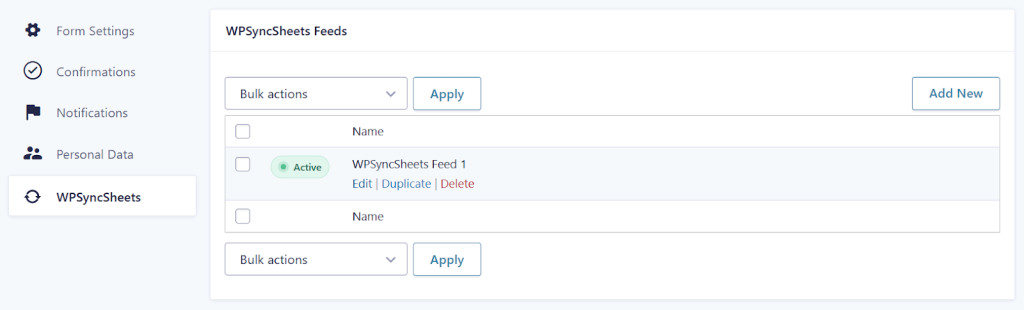
Now you will have to Add New feed in the WPSyncSheets Feeds section. Once it has been created then click on Edit.
Step 4
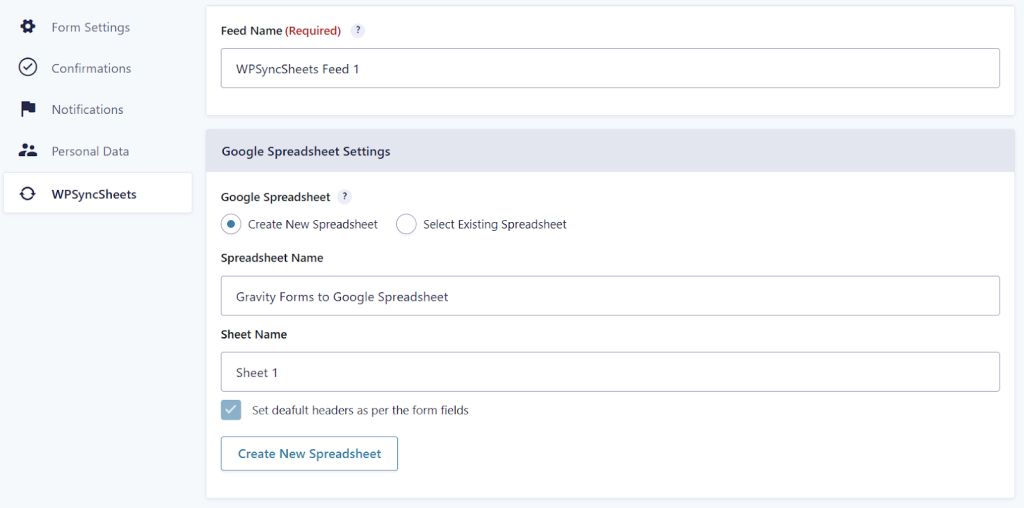
It is mandatory to give Feed Name.
Select Create New Spreadsheet, add a Spreadsheet Name as well as Sheet Name as per your requirement and click the Create New Spreadsheet.
Step 5
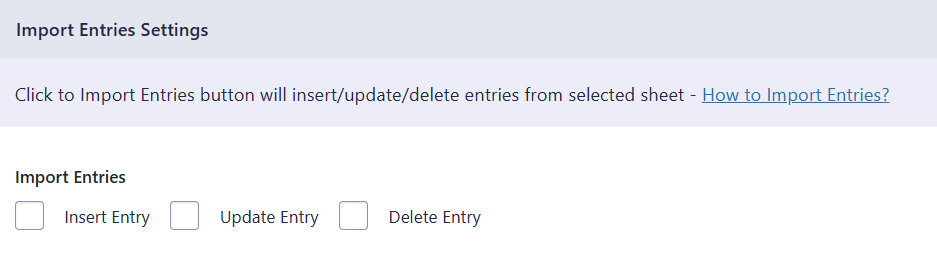
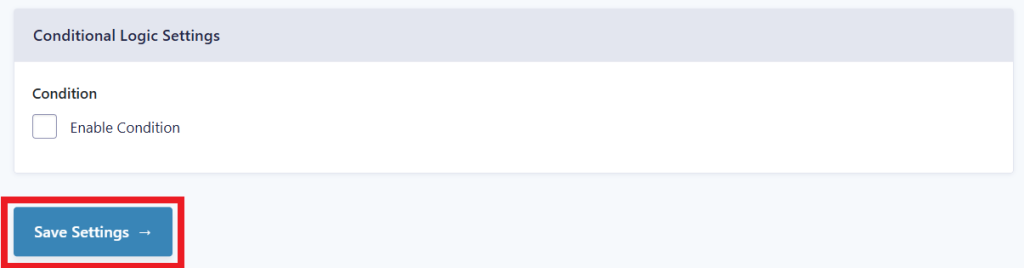
Enable/Disable the options insert/update/delete as per your requirement and Save Settings.
At the end of the page you will see the Save Settings button.
Step 6
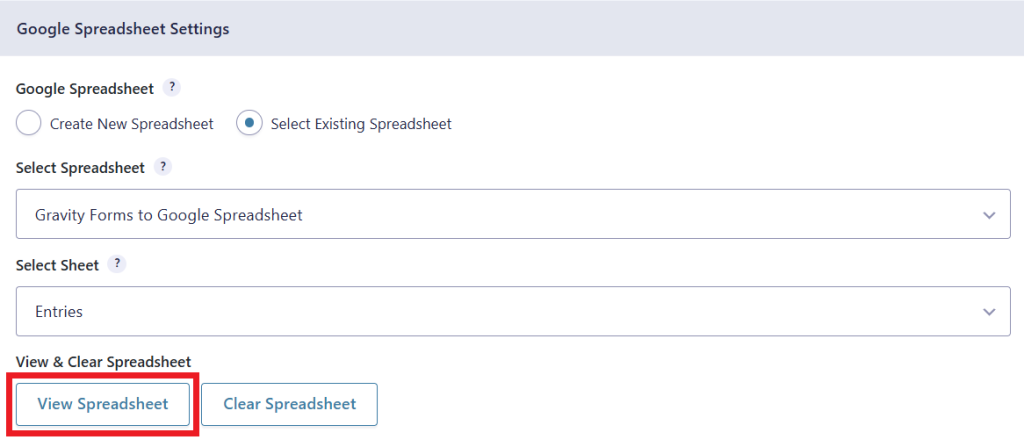
After that in Google Spreadsheet Settings click on View Spreadsheet.
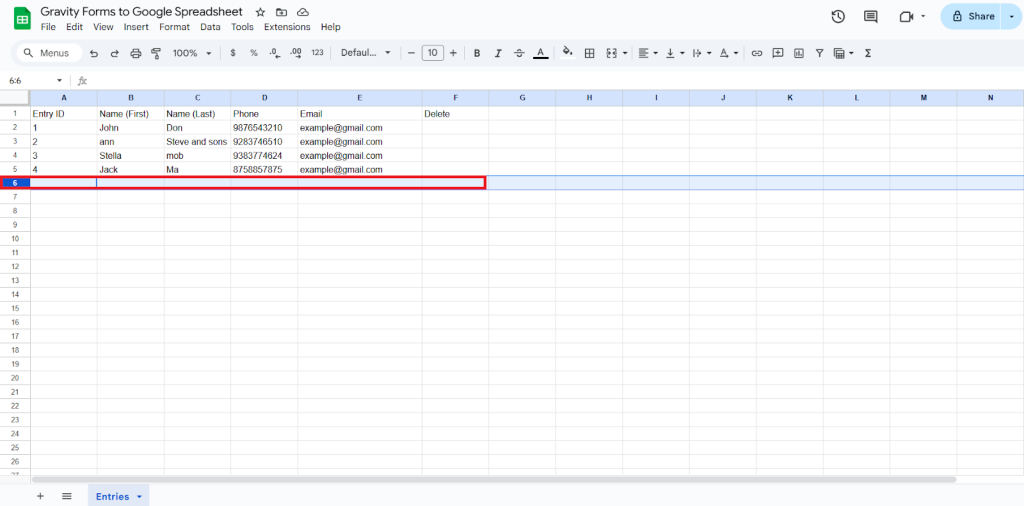
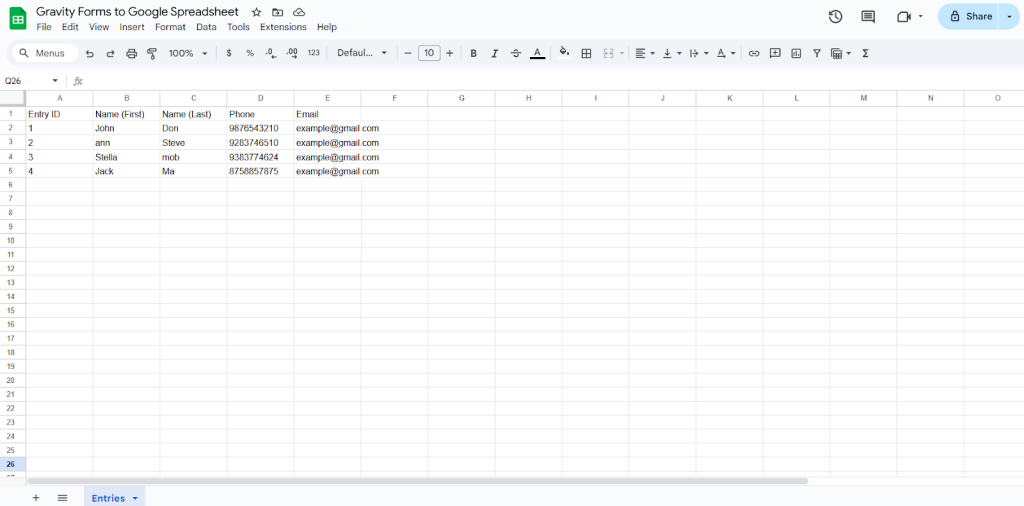
Original Spreadsheet
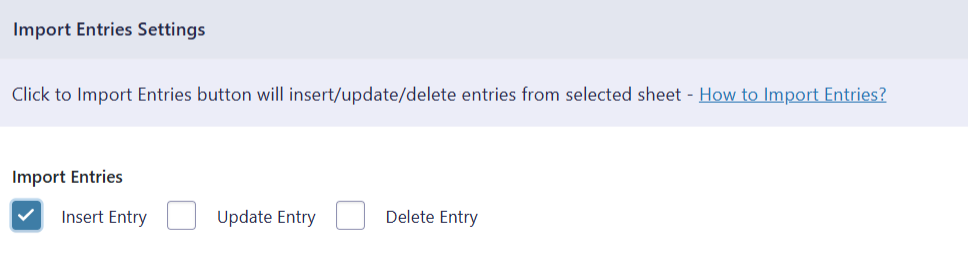
Insert Entry
Step 1
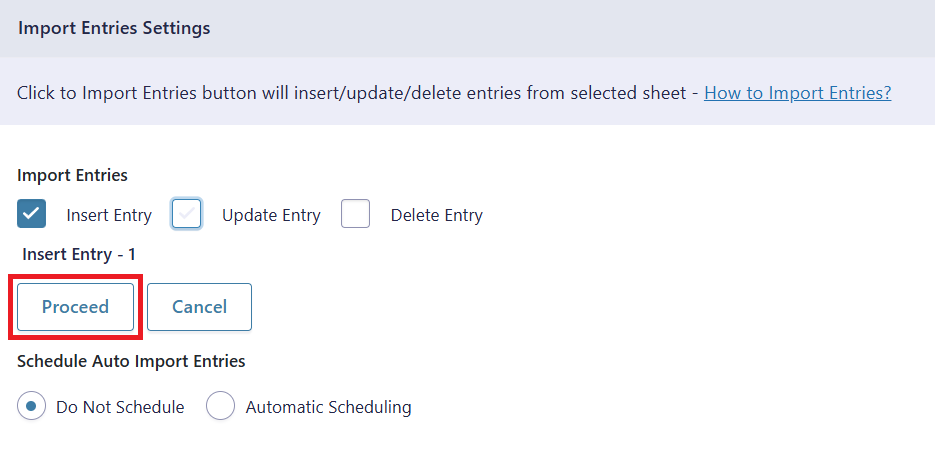
Check the Insert Entry box to import your desired data and click on save settings.
Step 2
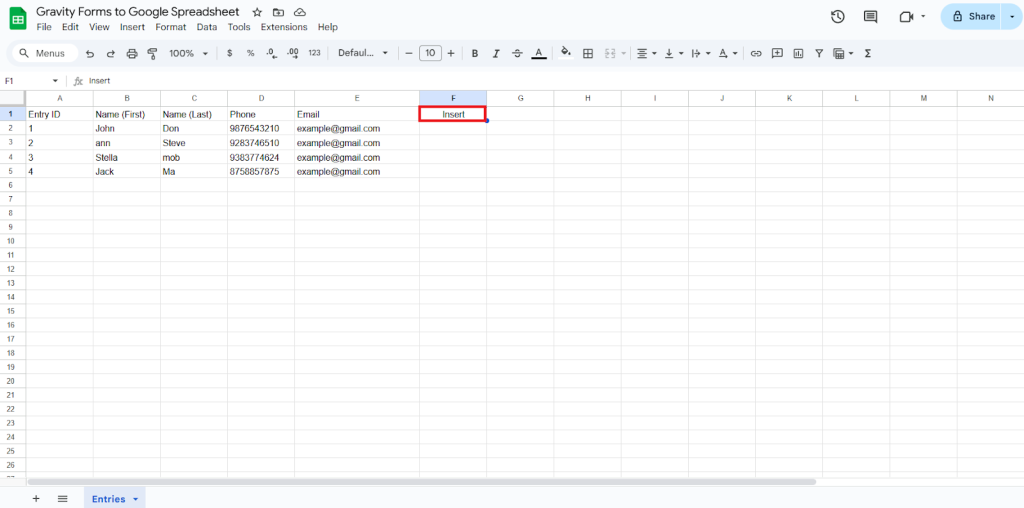
After you save the settings you will have the “Insert” column in your connected Google Spreadsheet parallely Click to Import Entries option in form settings page.
Step 3
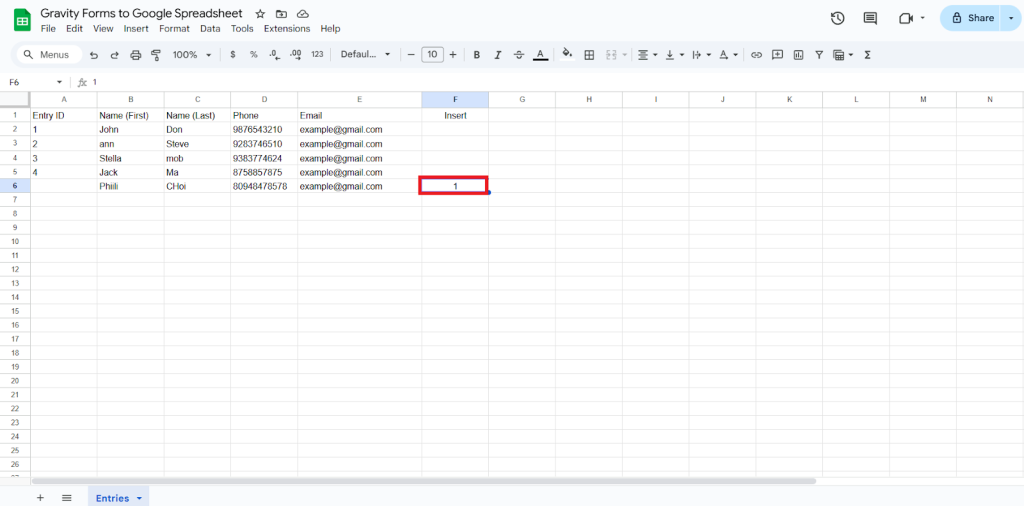
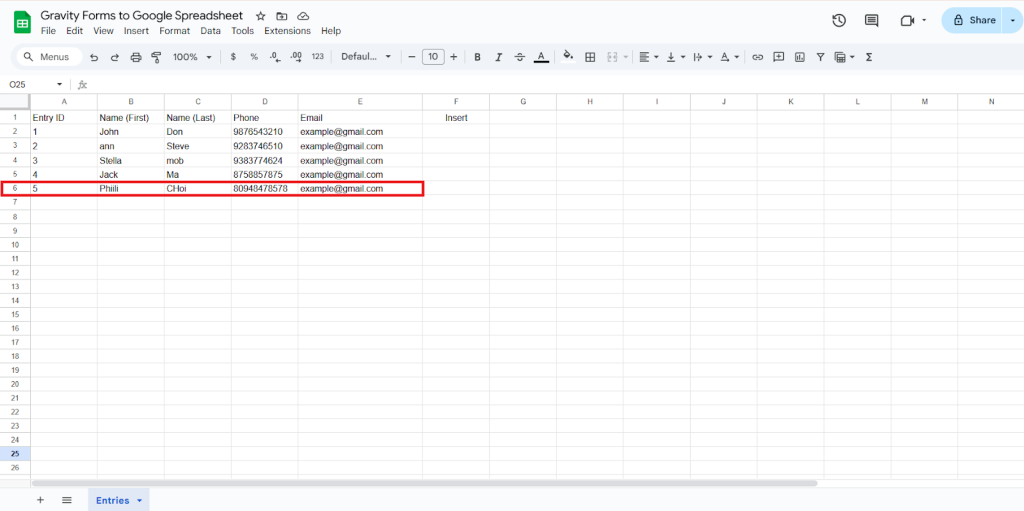
Ensure that the Entry ID column remains blank.
Enter the details in the respective columns and type “1” in the insert column of which you want to insert.
For Example
- First Name: Enter the user’s first name.
- Last Name: Enter the user’s last name.
- Phone Number: Enter the user’s phone number in the correct format.
- Email: Enter user’s valid email address.
Step 4
Click on Click to Import Entries.

Step 5
Now, you will have the Proceed option, click on it.
Final SpreadSheets
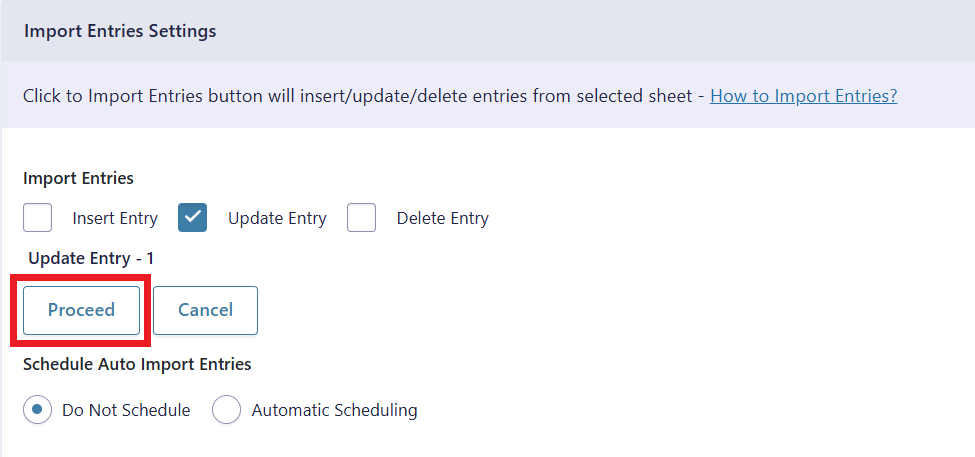
Update Entry
Step 1
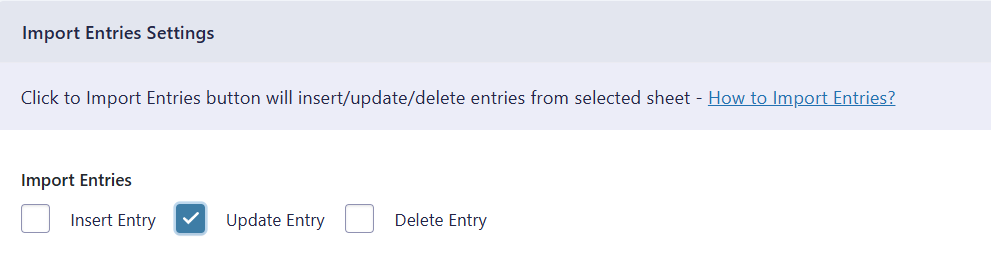
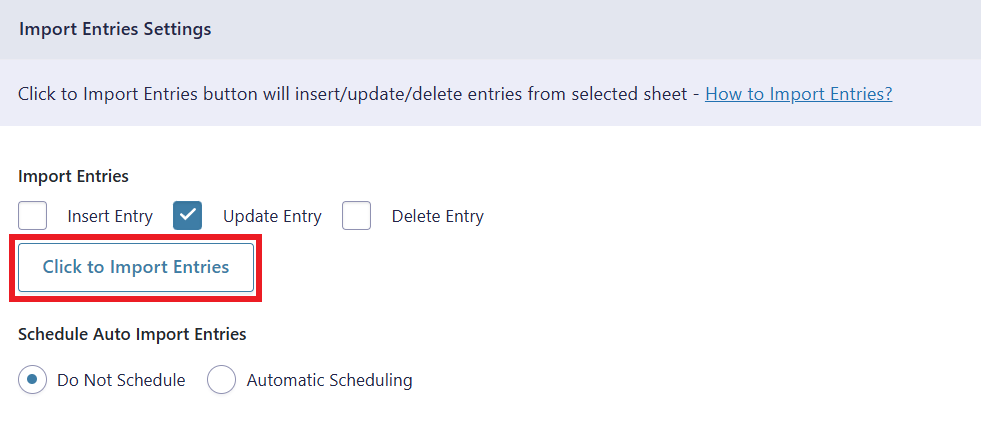
Check the Update Entry box to update the data and click on Save Settings.
Step 2
After you save the settings you will have the “Update” column in your connected Google Spreadsheet parallely Click to Import Entries option in form settings page.

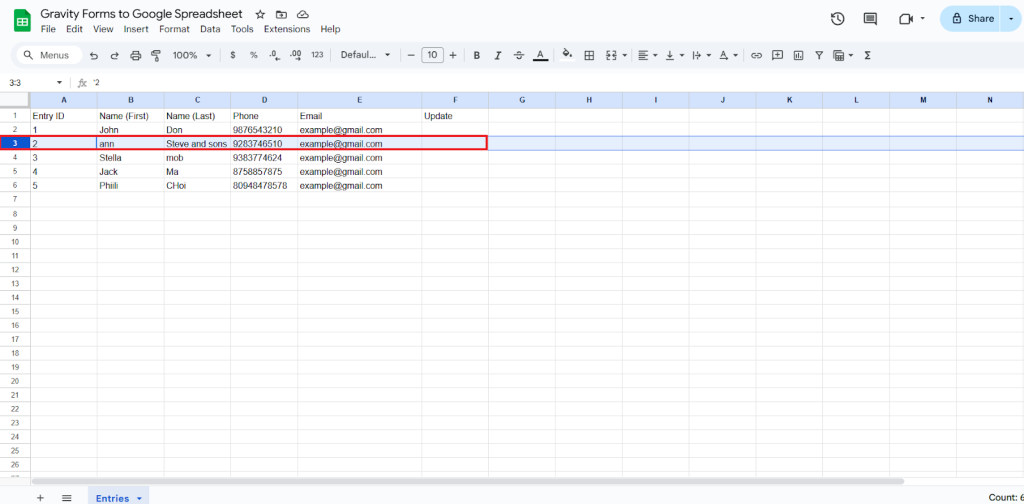
Step 3
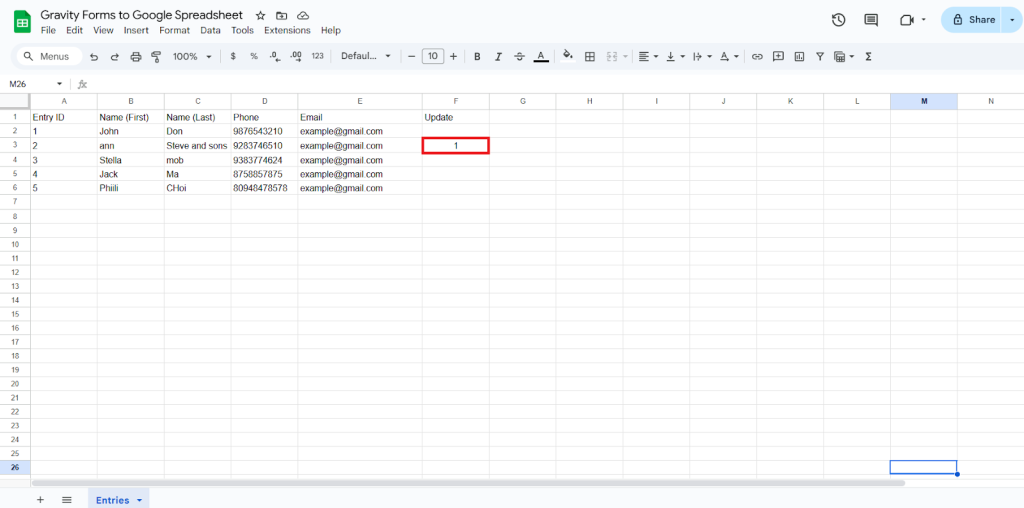
Make the changes you want and in the Update column of that row, type “1”, to update a particular column.
Step 4
Click on Click to Import Entries.
Step 5
Now, you will have the Proceed option, click on it.

Final Spreadsheet
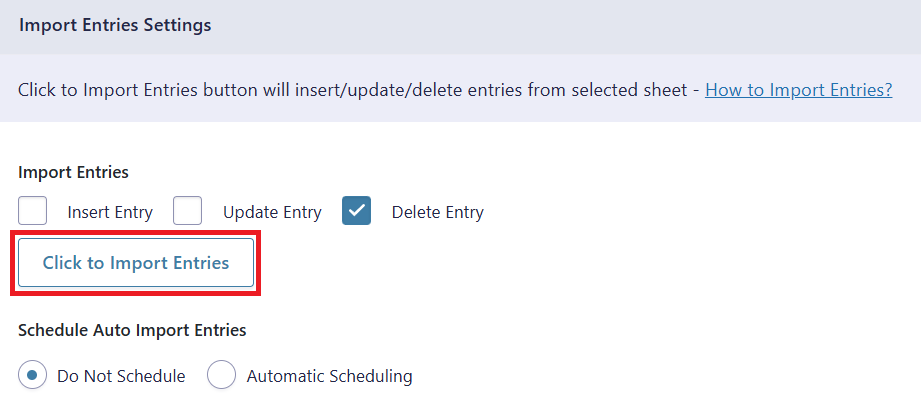
Delete Entry
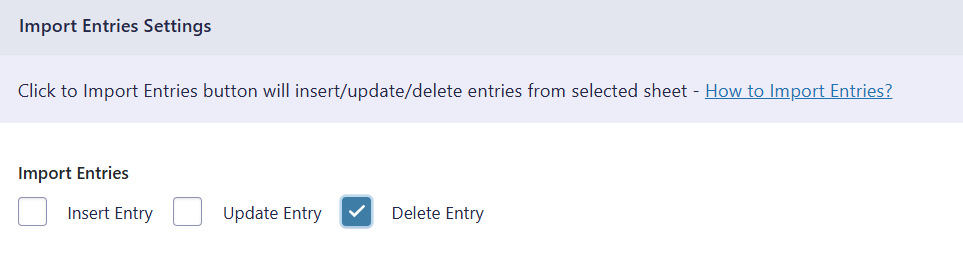
Step 1
Check the Delete Entry box to delete the data and click on Save Settings.
Step 2
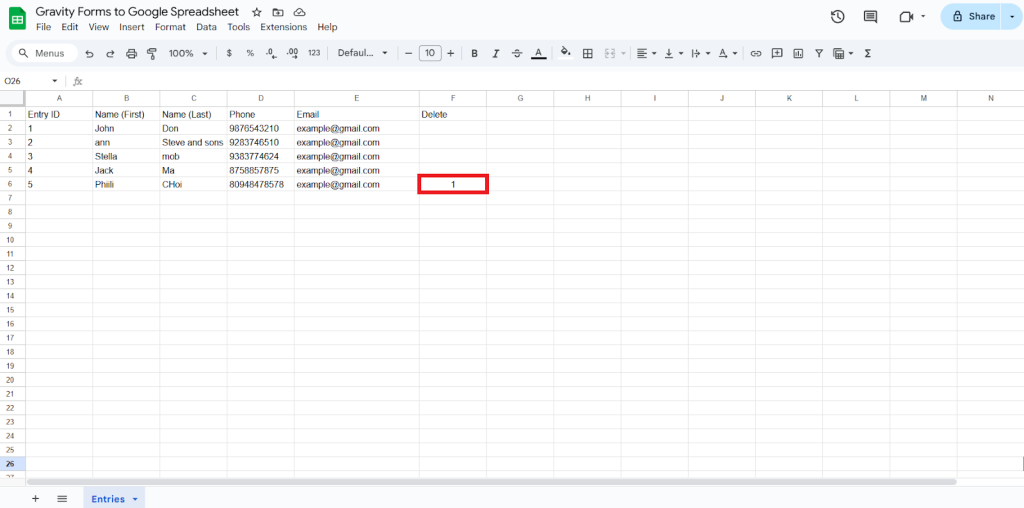
After you save the settings you will have the “Delete” column in your Google Spreadsheet parallely Click to Import Entries option.

Step 3
In the Delete column of that row, type “1”, to delete a particular column.
Step 4
Click on Click to Import Entries.
Step 5
Now, you will have the Proceed option, click on it.
Final Spreadsheet