How to Get the Server Scheduling Cron URL?
You can generate the server cron URL from the feed settings by following these simple steps:
Step 1: Access Feed Settings
- Login to your WordPress Dashboard.
- Navigate to Gravity Forms → Edit the form → Settings → WPSyncSheets
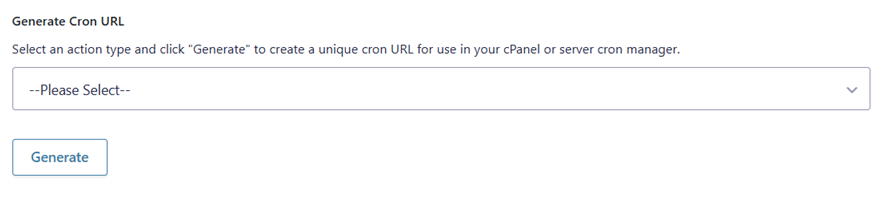
Step 2: Open the Cron URL Generator
- On the feed settings page, scroll down to the General Settings section.
- Locate the Scheduled Action Type dropdown.
Step 2: Select an Action Type
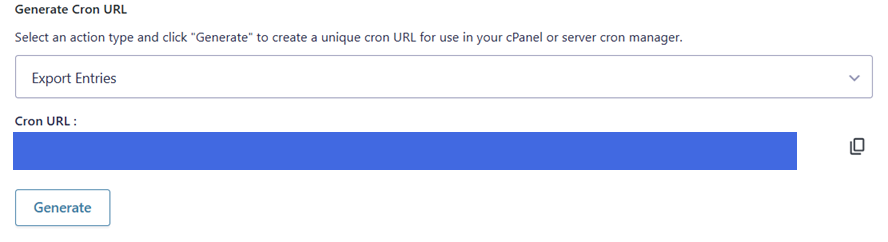
- From the dropdown, choose the action you want to schedule. For example: Export Entries or Import Entries.
Step 4: Generate the Cron URL
- Click the Generate button below the dropdown.
- A unique cron URL will be generated for the selected action.
Step 5: Copy and Configure the Cron URL
- Click the Copy icon next to the generated URL to copy it to your clipboard.
- Paste this URL into your cPanel or server cron manager to schedule the action.
Step 6: Confirm the Scheduled Action
- Once configured on your server, the selected action will run automatically based on your cron schedule.
- You can repeat the same process to generate cron URLs for other actions.
- To regenerate a URL, simply select a different action and click Generate again.


