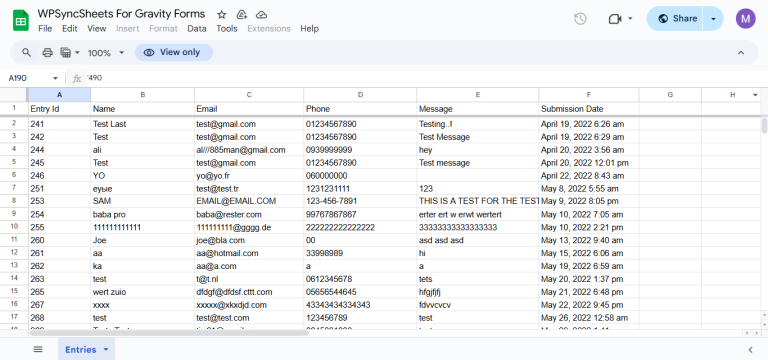
Export Entries with WPSyncSheets For Gravity Forms plugin
If users want to export form entries, field data, or metadata in bulk from Gravity Forms, they can easily transfer this data into a spreadsheet. Exporting helps keep submission records organized, makes sharing with team members easier, and provides a secure backup of important form entries.
How to Export Entries?
In case you haven’t installed and activated the plugin yet, go to the Setup Guide and follow the steps.
Step 1: Navigate to Gravity Form Settings
Navigate to Forms > Edit
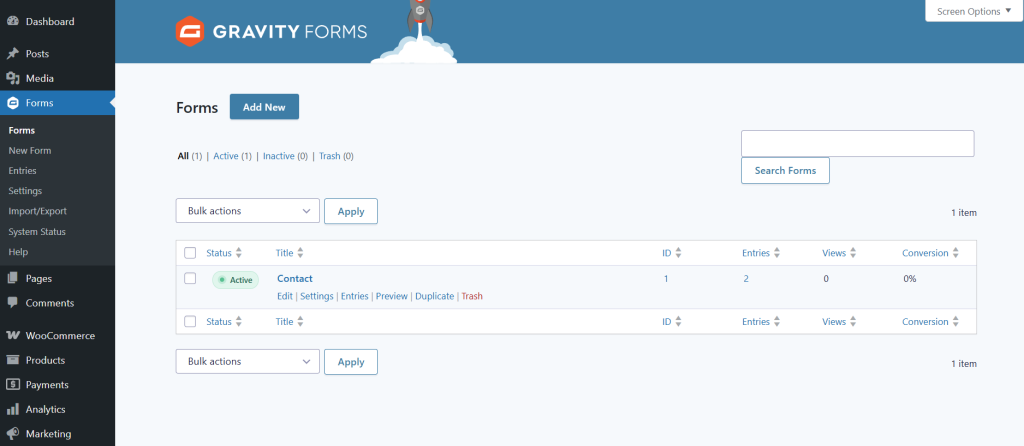
Step 2: Navigate to WPSyncSheets Settings
After clicking on Edit you will see the setting page. In that page navigate to Settings > WPSyncSheets

Step 3: Add New WPSyncSheets Feed
Now, you will see Add New option in WPSyncSheets Feeds section. Click on Add New.

Step 4: Choose New or Existing Google Spreadsheet
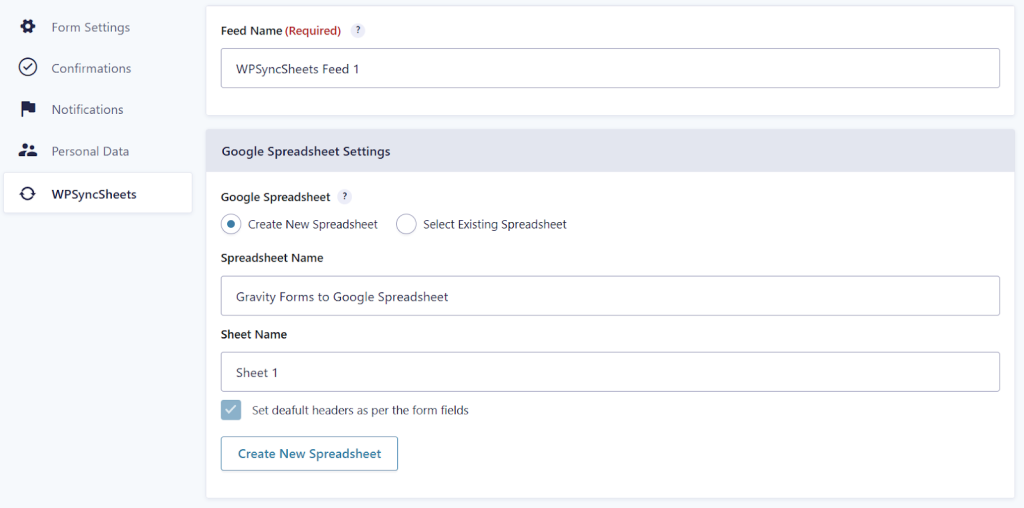
It is mandatory to provide a Feed Name. You can either:
- Select Create New Spreadsheet, then enter a Spreadsheet Name and a Sheet Name as per your requirement, and click Create New Spreadsheet.
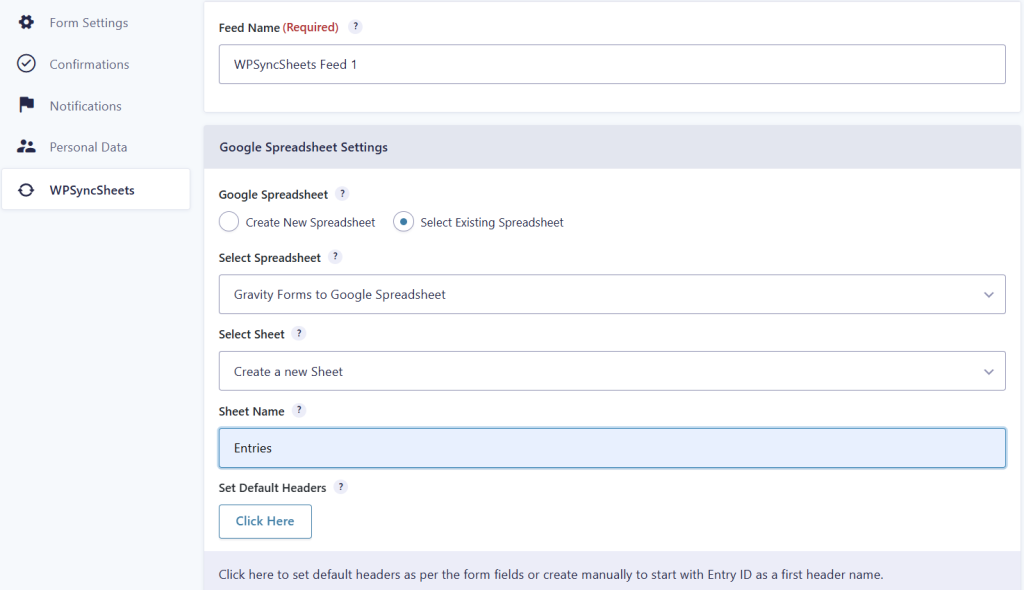
- Select Existing Spreadsheet, then choose the desired Spreadsheet Name and Sheet Name. In the Select Sheet Option:
- If you choose Create New Sheet, it will ask you to enter the Sheet Name as per your requirement.
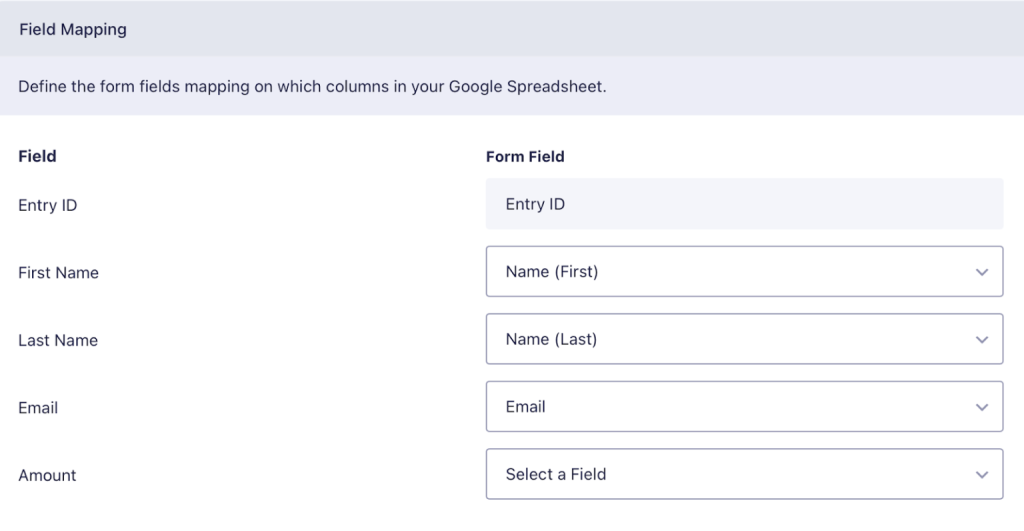
Step 5: Map the Fields
The Gravity Form fields are now automatically mapped to the appropriate columns in your Google Sheet under Field Mapping. Simply review the mappings and save the settings.
Step 6: Export Entries with Click to Sync
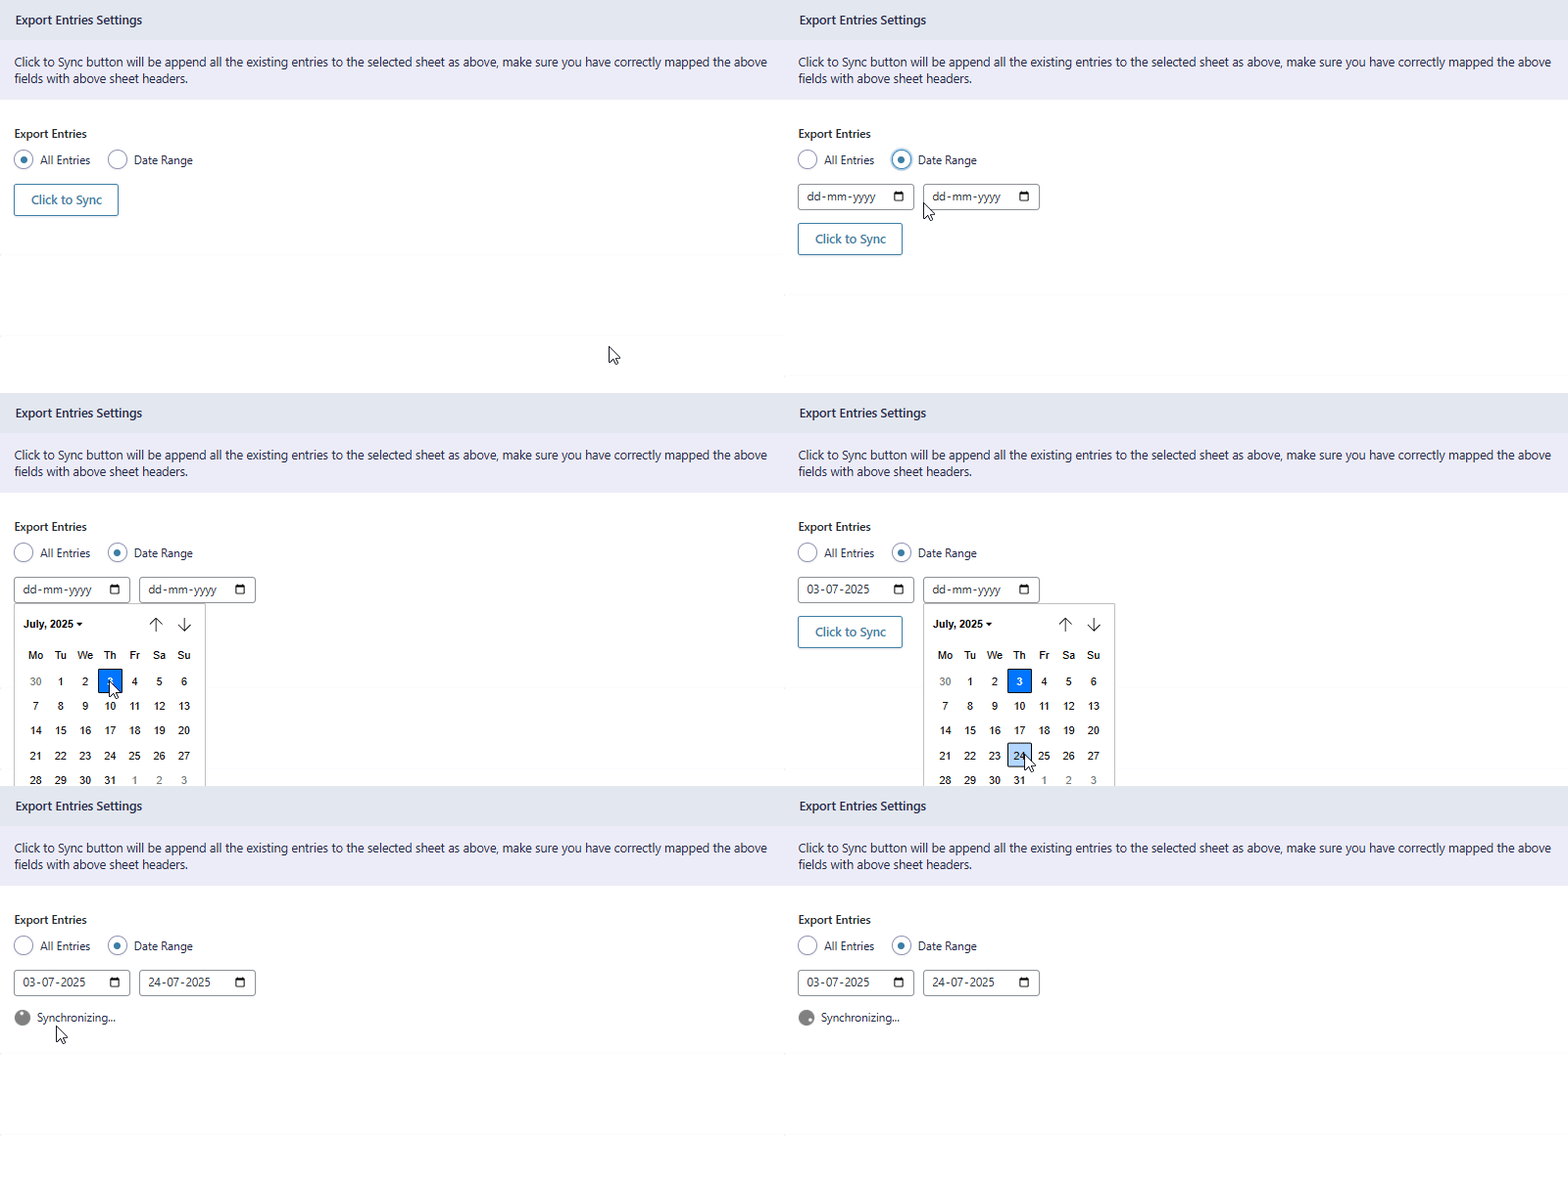
Once all the settings are done, the ‘Click to Sync’ option will be enabled. Export Entries Settings will give you two options:
- All Entries
- Date Range
- If you want to export all entries from the beginning to till now to your Google Spreadsheet, select ‘All Entries’ and then click on ‘Click to Sync’.

- If you want to export entries within a custom date range, select the ‘Date Range’ option and choose the start and end dates as per your requirement. After setting the dates, click on ‘Click to Sync’.
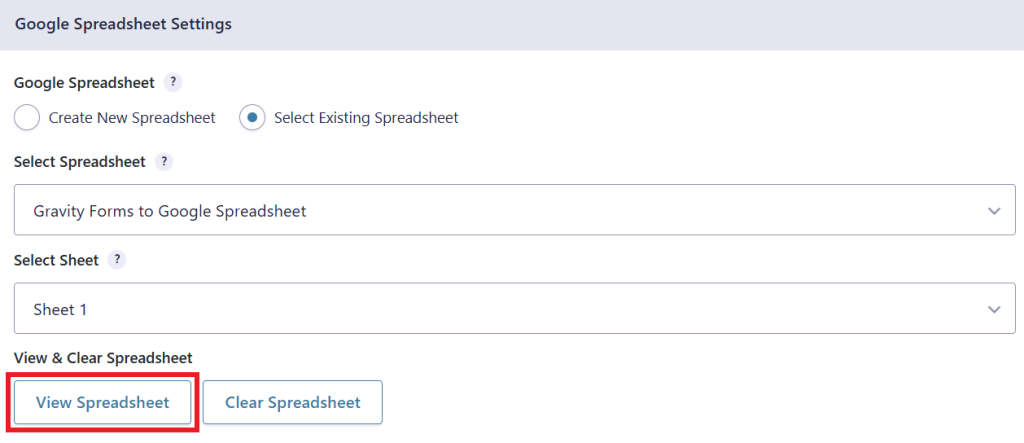
Step 7: Click on “View Spreadsheet”
By clicking on View Spreadsheet, you can see the spreadsheet with your sync data.
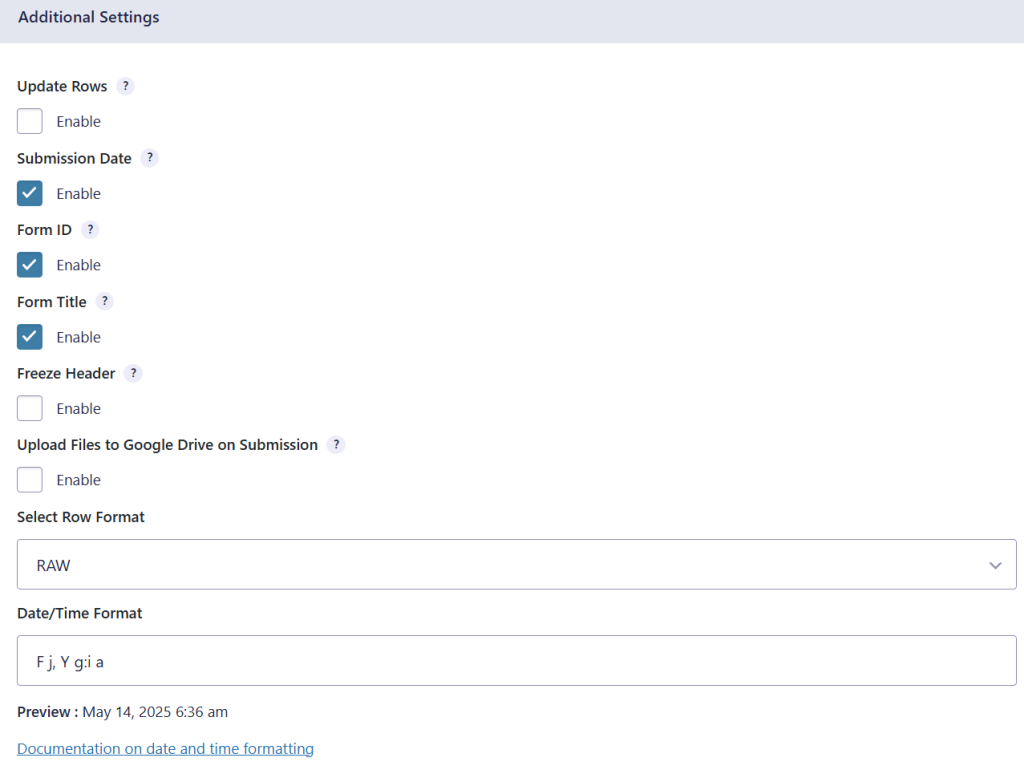
Step 8: Configure the additional Settings
For additional changes, select Submission Date, Form ID, and Form Title.
Final Spreadsheet
