Setup Guide
This block will give you information on how to install WPSyncSheets For Contact Form 7 plugin to your website manually.
Step 1
Login to your WordPress Dashboard.
Step 2
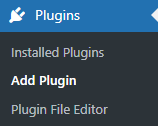
Go to the Plugins > Add Plugin
Step 3
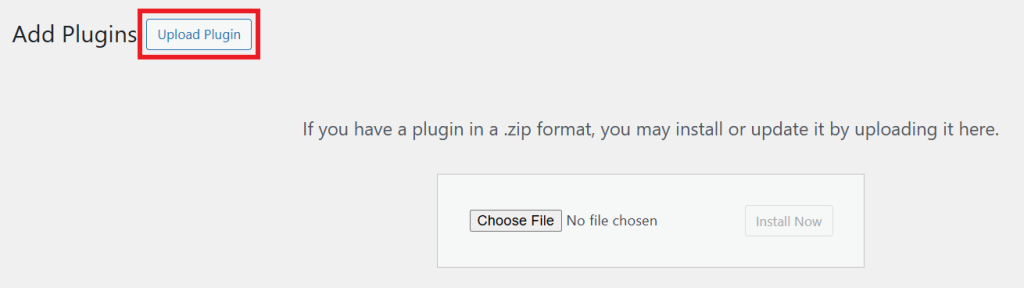
Click on ‘Upload Plugin‘ and upload the WPSyncSheets For Contact Form 7 plugin zip file using the field shown below.
Step 4
Install & activate the plugin.

Step 5
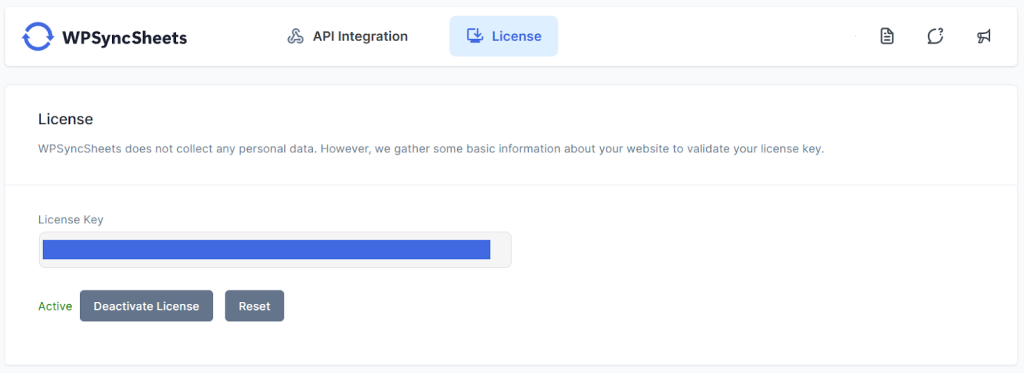
After plugin installation, go to WPSyncSheets > For Contact Form 7 > License and activate the license key.
Step 6
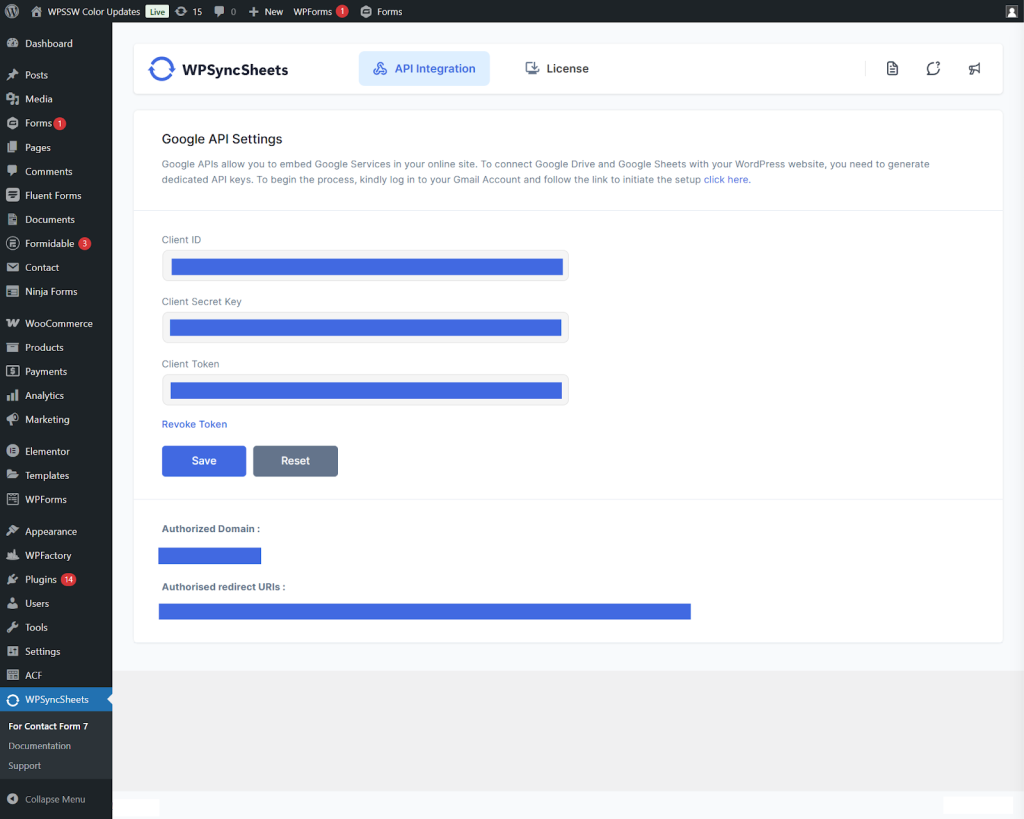
After that, go to WPSyncSheets > For Contact Form 7 > API Integration
Step 7
To connect WPSyncSheets For Contact Form 7 with Google Drive, follow the separate guide to generate the Client ID and Client Secret Key.
- Once you have them, enter both in the Google API Settings section and click the Save button.
- After saving, you will see a “Click here to generate an Authentication Token” button. Click this button to generate your Client Token.
Step 8
After putting all the details on your site, click ‘Save‘.


